After weeks of working on this project, I would like to unveil how we made Myla a wonky little Animation Station….CUE THE FANFARE!!
TA-DAAHHHHHHHHHHHH!!! *confetti*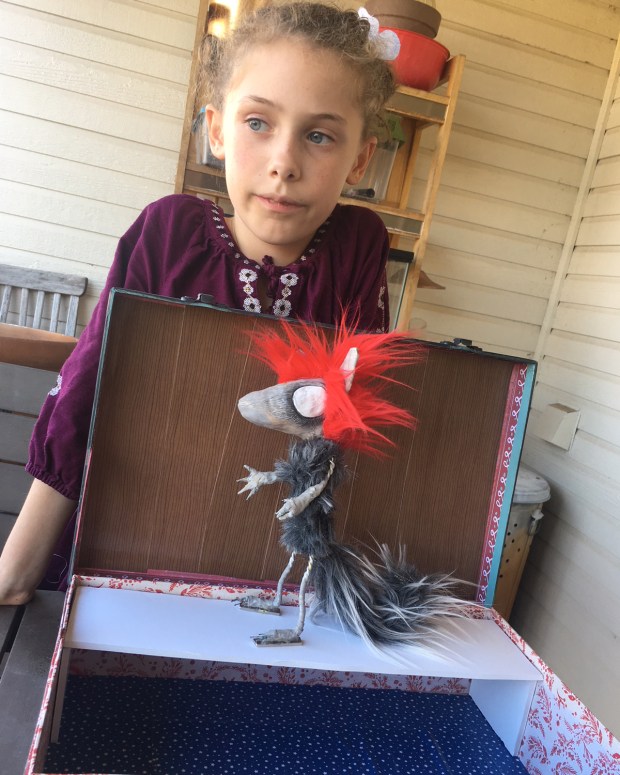
AND NOW….a quick backstory: Myla is 8 years old and LOVES animation. The first time she understood it was at a children’s museum called The Thinkery in Austin, where they had a station set up where a camera was positioned over a flat surface, with a screen in front, where you could arrange the blocks, push a simple button for each frame, and see what you’re doing on the screen above. She was ENTHRALLED.

(There are usually various-shaped wooden blocks on the tray around that center “stage”)
She’s played with drawing animation apps like GoldieBlox for awhile, but this was the first time she really understood stop motion, and a fire sparked. These days, she uses Stop Motion Studio on her Ipad, which takes some getting used to, but is mostly user- and kid-friendly. You can also adjust it where it “ghosts” an image of your previous frame, so you can see where you were before.
In the past, she’s worked with clay, making stop motion videos…
https://www.instagram.com/p/BY3baUZhjbn/?taken-by=mylamockingbird
https://www.instagram.com/p/BY3YFB3hxIW/?taken-by=mylamockingbird
But one day, while watching some behind-the-scenes LAIKA videos of Kubo and the Two Strings on YouTube, we decided we should try to build a simple-ish figure and set up our own portable station that maybe she could carry around and set up wherever she wanted. So here’s our wonky project, and what we’ve learned so far…
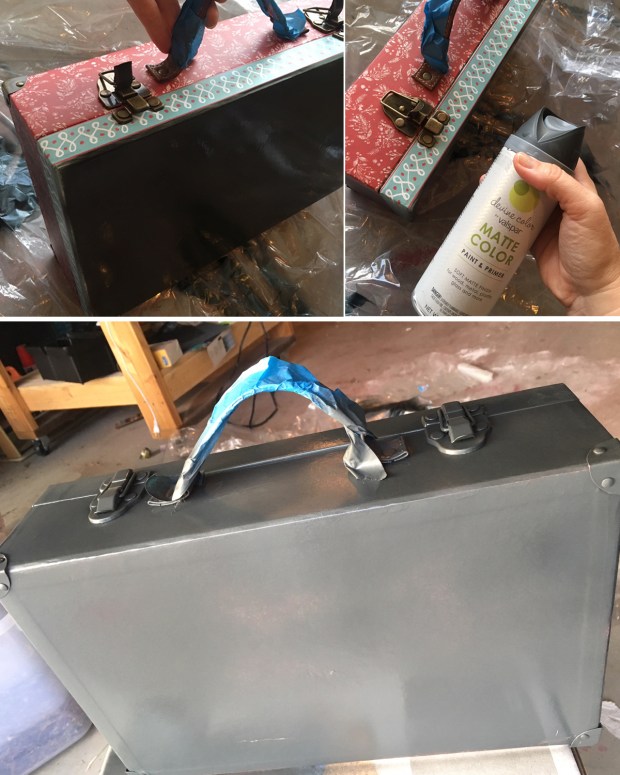
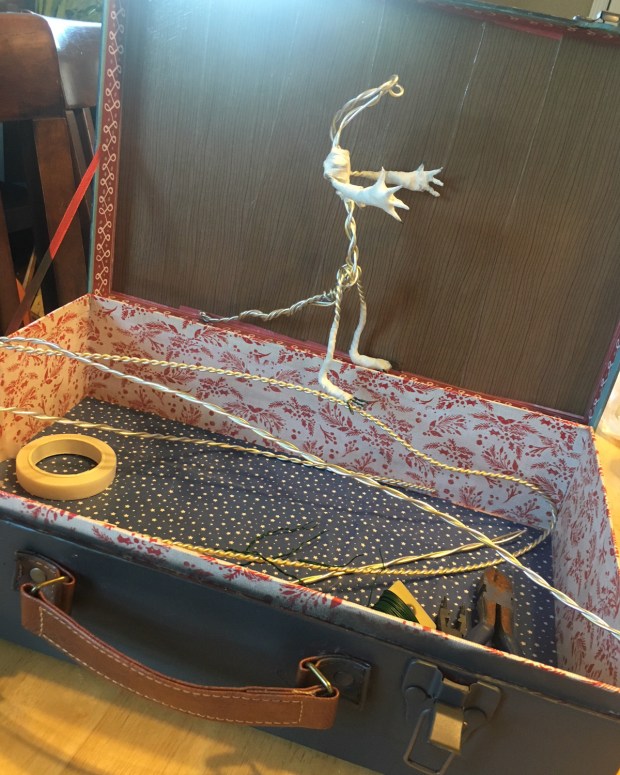
First off, I wanted it to be mobile–something she could use to carry accessories and things, and maybe the lid could flip up to be used as a background. I found this decorative holiday “suitcase” at our local craft store, and spray painted it a matte color and then decorated it with stickers…

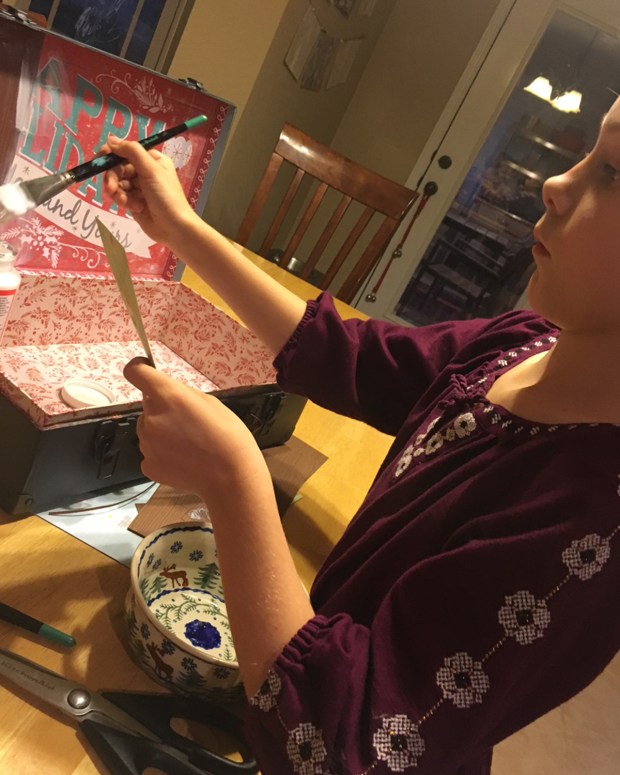
We used Mod Podge for the inside, to “glue” a flat background to the inside lid. I figured she might be able to lay a sheet of paper over it to change out the background whenever she liked, but primarily, a “wooden” craft paper pattern served well to cover up the holiday cheer that the box initially came with.
Next up, she designed her character. She LOVES animals, and creates the most amazing little characters. This one is named “Zeen,” and is a little wolf-girl.
We talked about how it would move, what we could and couldn’t do. We talked about how to make the face and eyes change, and how it would stand. I looked up some simple armature techniques online (THAT’S a rabbit-hole of possibilities), and started building a body that would be big enough to do what she wanted, but small enough to fit in the box and still be able to use the background.
I’m not sure the gauge of the larger wire that I used, but in hindsight, I might’ve gone softer, as it ended up maybe a little too stiff. I twisted two pieces together with a drill (which was a hilarious endeavor), and used wirecutters to twist it into shape. The legs are tightly hinged, but they can bend at the “waist,” which I thought would add more movement–but if you’re not careful, she does end up flopping over.
I used floral wire for the smaller appendages, and floral tape to smooth it out a little.
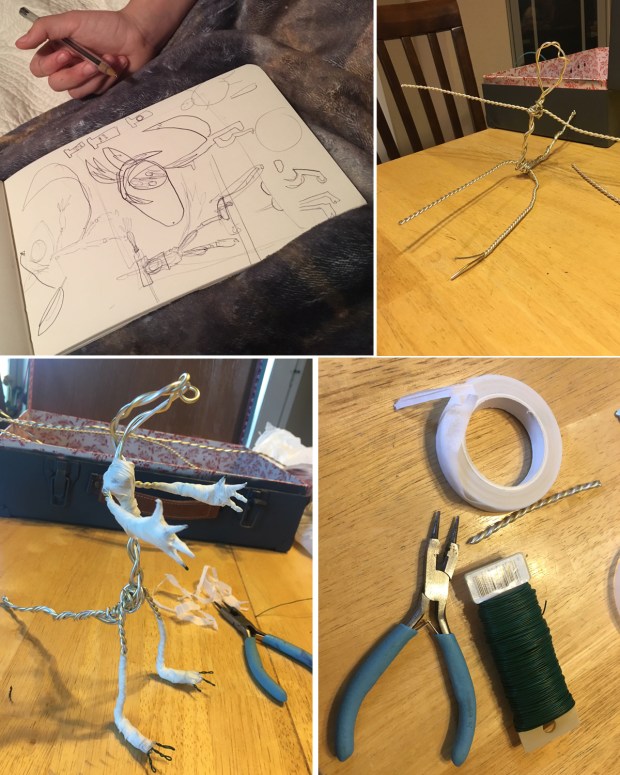
And after a bit of messing about, I finally came up with a basic structure that fit in the box, and still met all of her sketch ideas. (I have learned, with my kid, to be very clear about what is and isn’t possible, and to remind her that things in her head don’t always look the same in mine, so we do our best to talk about it in great detail beforehand.)
I built a base from balled-up aluminum foil to keep the head light, and wrapped Super Sculpey around it, embedding floral wire where I wanted the ears to be.
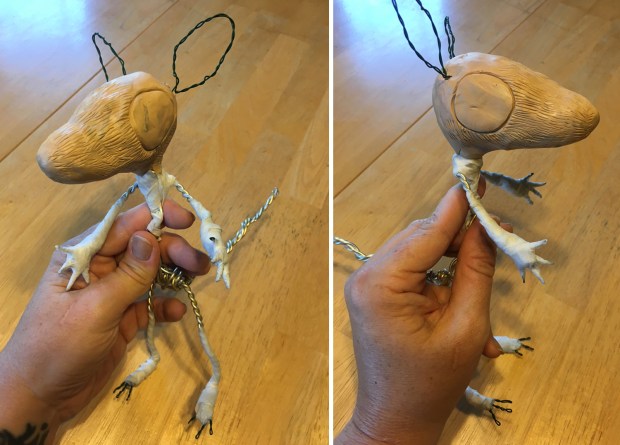
After baking it, I painted the face, and added fur. (Yes, fur is very tricky to keep consistent during an animation, but she doesn’t mind–she was excited about the fur, and it’s all about having fun right now).
I left the eyes blank, because we decided that she could stick a little circle of paper to the eyes, and that way she could “move” it in the animation like a pupil.

The next step was to make something for it to stand on. The professionals use this peg system, wherein they mount the feet over and over again into a board depending on what movement they need. Instead, I opted for ultra-strong neodymium magnets.
First, I mounted a piece of foam core to a little “stage”at the front of the open suitcase. I kept the top removable in case we needed to access the whole case or something.
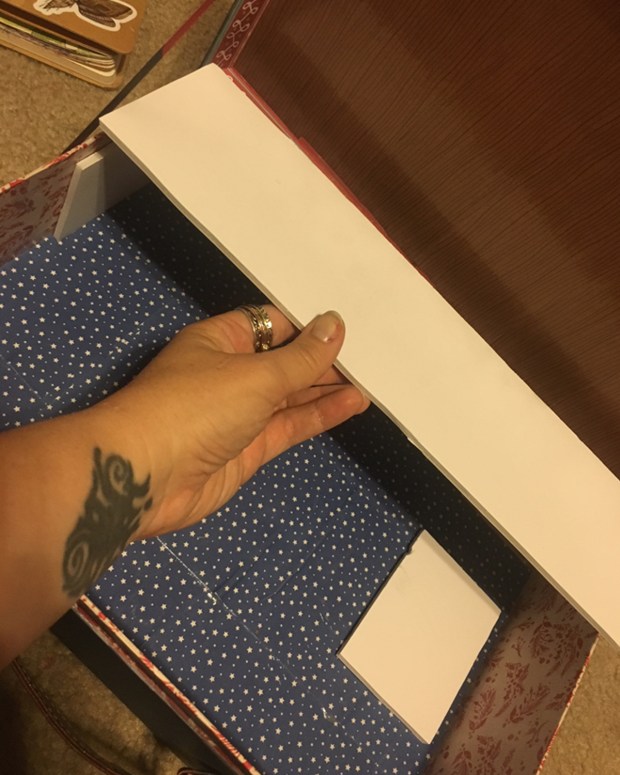
I sloppily hot-glued the magnets to the bottom of her feet, and other magnets to the underside of the foam core sheet.

(Looking back, I might’ve tried finding some piece of flat metal for the magnets to stick to? Since I couldn’t get much coverage due to polarization, we have trouble standing her up in certain places.)
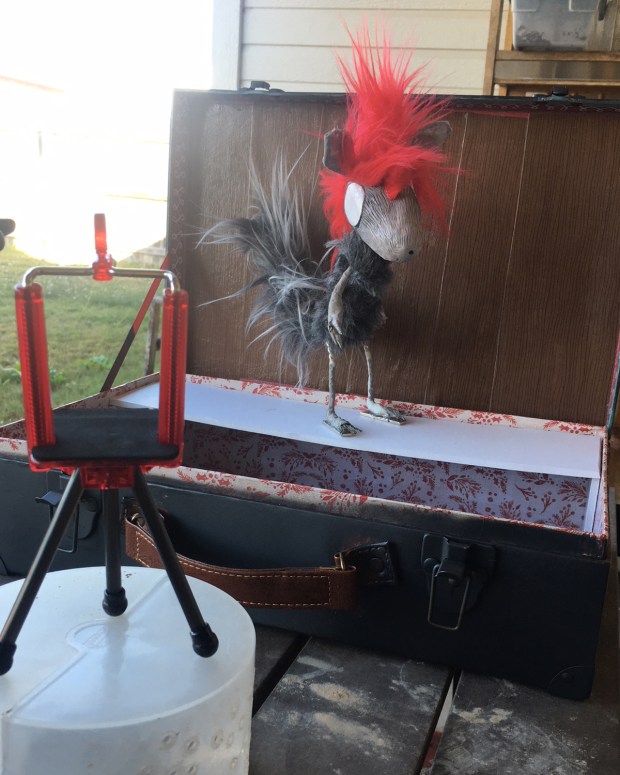
And finally, after much trial and error, she works!!! SHE’S ALIIIIIIIIVEEEE!!!! Mwahahahah….. Well, you know. SORT of.

There are, as is to be expected, some kinks to work out….
First, I might’ve tried finding some piece of flat metal for the magnets to stick to, instead of foam core (if only I could get it to fit PERFECTLY in this box). Second, the wire I used is a little to stiff (as I mentioned) so motion (especially small movements) are hard to manage without moving the whole character. Third, we need a better tripod stand for Myla’s ipad, because we just lean it against things, which works, but…could work better.
She’s been so excited by it, and has already animated a little, but we’ve only JUST finished it, so there’s still some practicing to do.
https://www.instagram.com/p/Ba-JitPgELe/?taken-by=mylamockingbird
But the best part? When I posted it on Instagram, someone suggested I contact Kevin Parry. They said “he works with Laika studios and he is awesome.” So I looked at his page and sure enough, this guy was the EXACT SAME animator in the VERY SAME VIDEOS Myla and I had seen on YouTube, that first inspired us to make a character! He’s worked on Kubo and on Box Trolls, and I’ve even seen his personal videos (usually animation tricks, and silly-walking references) online, shared by friends. I just didn’t know his name. It’s such a small world!
I messaged him, and to my surprise, he replied and mentioned how cool it was that she was animating at such a young age, and that the details would come with time–that she should just enjoy animating as much as she can. He was incredibly helpful, and told me that a simple trick for the eyes would be to coat them in vaseline and stick a little paper circle to it and move that around. He gave me tips on structure and magnets, and practicing simple movements. The poor guy must get bombarded with the same questions over and over again and again, but he was so enthusiastic it was exciting.
And when I told Myla about it the next day, she was inspired all over again. And I was reminded of how good it is to share what you love with other people. It only helps, when you encourage others and help them learn. And it doesn’t take anything away from you–it’s up to them what they do with it.
And that’s the thing–It’s like when people ask me how to “become a good artist,” all I can tell them is if you love something, you’ll do it, and you’ll never stop learning. You’ll do it and do it, and soon you’ll find you’re doing it SO much that you’re getting better at it, and you don’t even realize it. It’s a passion. If you don’t have it, you’ll likely put your energies elsewhere, and that’s okay too. But if you’re excited about something, you’ll keep doing it, and you’ll keep learning, and you’ll just get better and better.


What Myla is learning now, I learned at age 26 in Concordia University’s first Animation course. In my first film, a lonely figure got eaten by a telephone – so I really relate to her flower figure gulping down whatever comes by. It’s so cool to make something transform or disappear. Having a mom who takes her seriously is the best resource at her age – all the tools and supplies you provide would’ve had me in heaven! Your blog is not only rich with suggestions and experience, it is healing for those who had more sterile childhoods.
What a wonderful thing to hear; thank you so much!
Wowser, you just keep expanding her artistic world. Oh how I wish that all artistic kids had someone like you in their lives. I’m sharing this on FB. Maybe it will reach other creative kids with creative adults in their lives. You and Myla are an inspiration.
Thank you so much!
This is so fabulous! I can’t wait to see what she creates.