My Little (Unfinished) Mermaid
Sometimes (as I’ve mentioned more than once), you have these weird ideas that you don’t really understand, but for some reason, you just have to do. My little mermaid was one of those ideas.
It’s rare, I thought to myself, to see a mermaid that isn’t some lithe, dainty, graceful creature. And while I’m not super into the details of anatomy, I know enough to realize that most mermaids aren’t portrayed with visible gills. And I bet they ALL don’t have gorgeous singing voices, either. 🙂
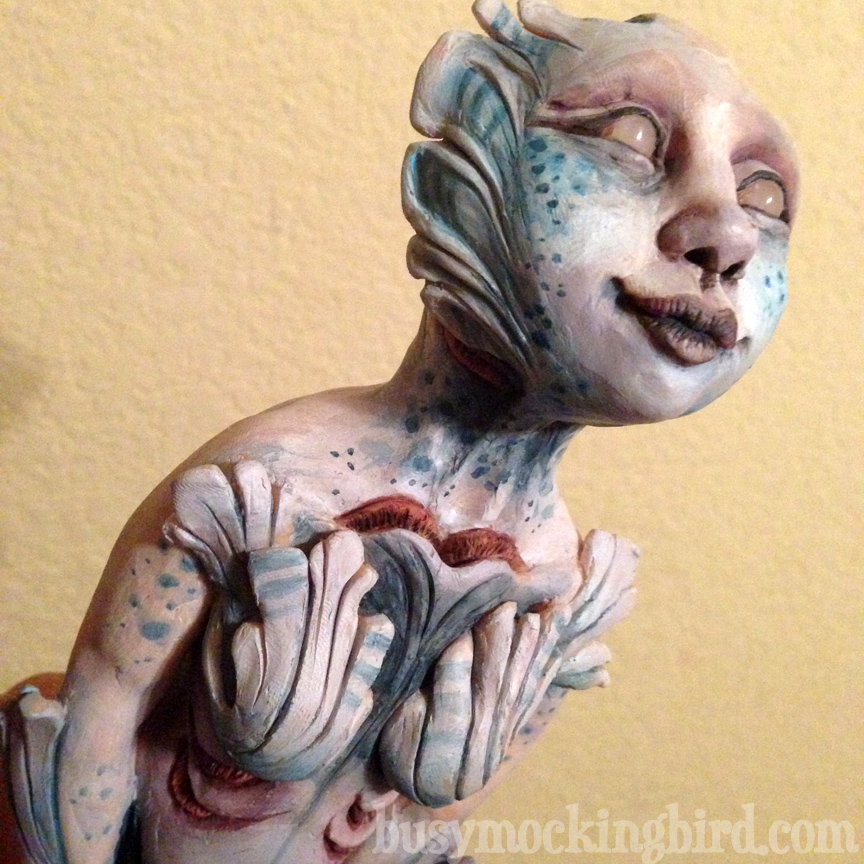
And that was my goal: a beautiful, strong, healthy, and FISHY-looking mermaid covered in gills near her face and chest and lungs. So I built a wire structure, wrapped it in tape, and built up my Super Sculpey figure on top of that (this keeps you from using so much clay, as well as from burning the outside while all that inside bulk tries to cook). I learned from friends that are sculptors, to use rubbing alcohol to smooth out some areas, as well as a heat gun to soft-set some areas while you work on others—so you’re not constantly squishing the face as you sculpt other areas.
I put lots of decorative “fins” around her chest and face, to sort of shield the gill areas. I thought nature (because nature is smart) would most likely find ways to protect the softer skin on a mer-creature with scaly sort of decorative things (because nature’s an artist, too).
 She has webbed hands, and fins on her arms (to be more aero/aquadynamic, I suppose?). I used the inside pieces from a broken ballpoint to add texture onto the scaled part of her tail, along with two lower fins.
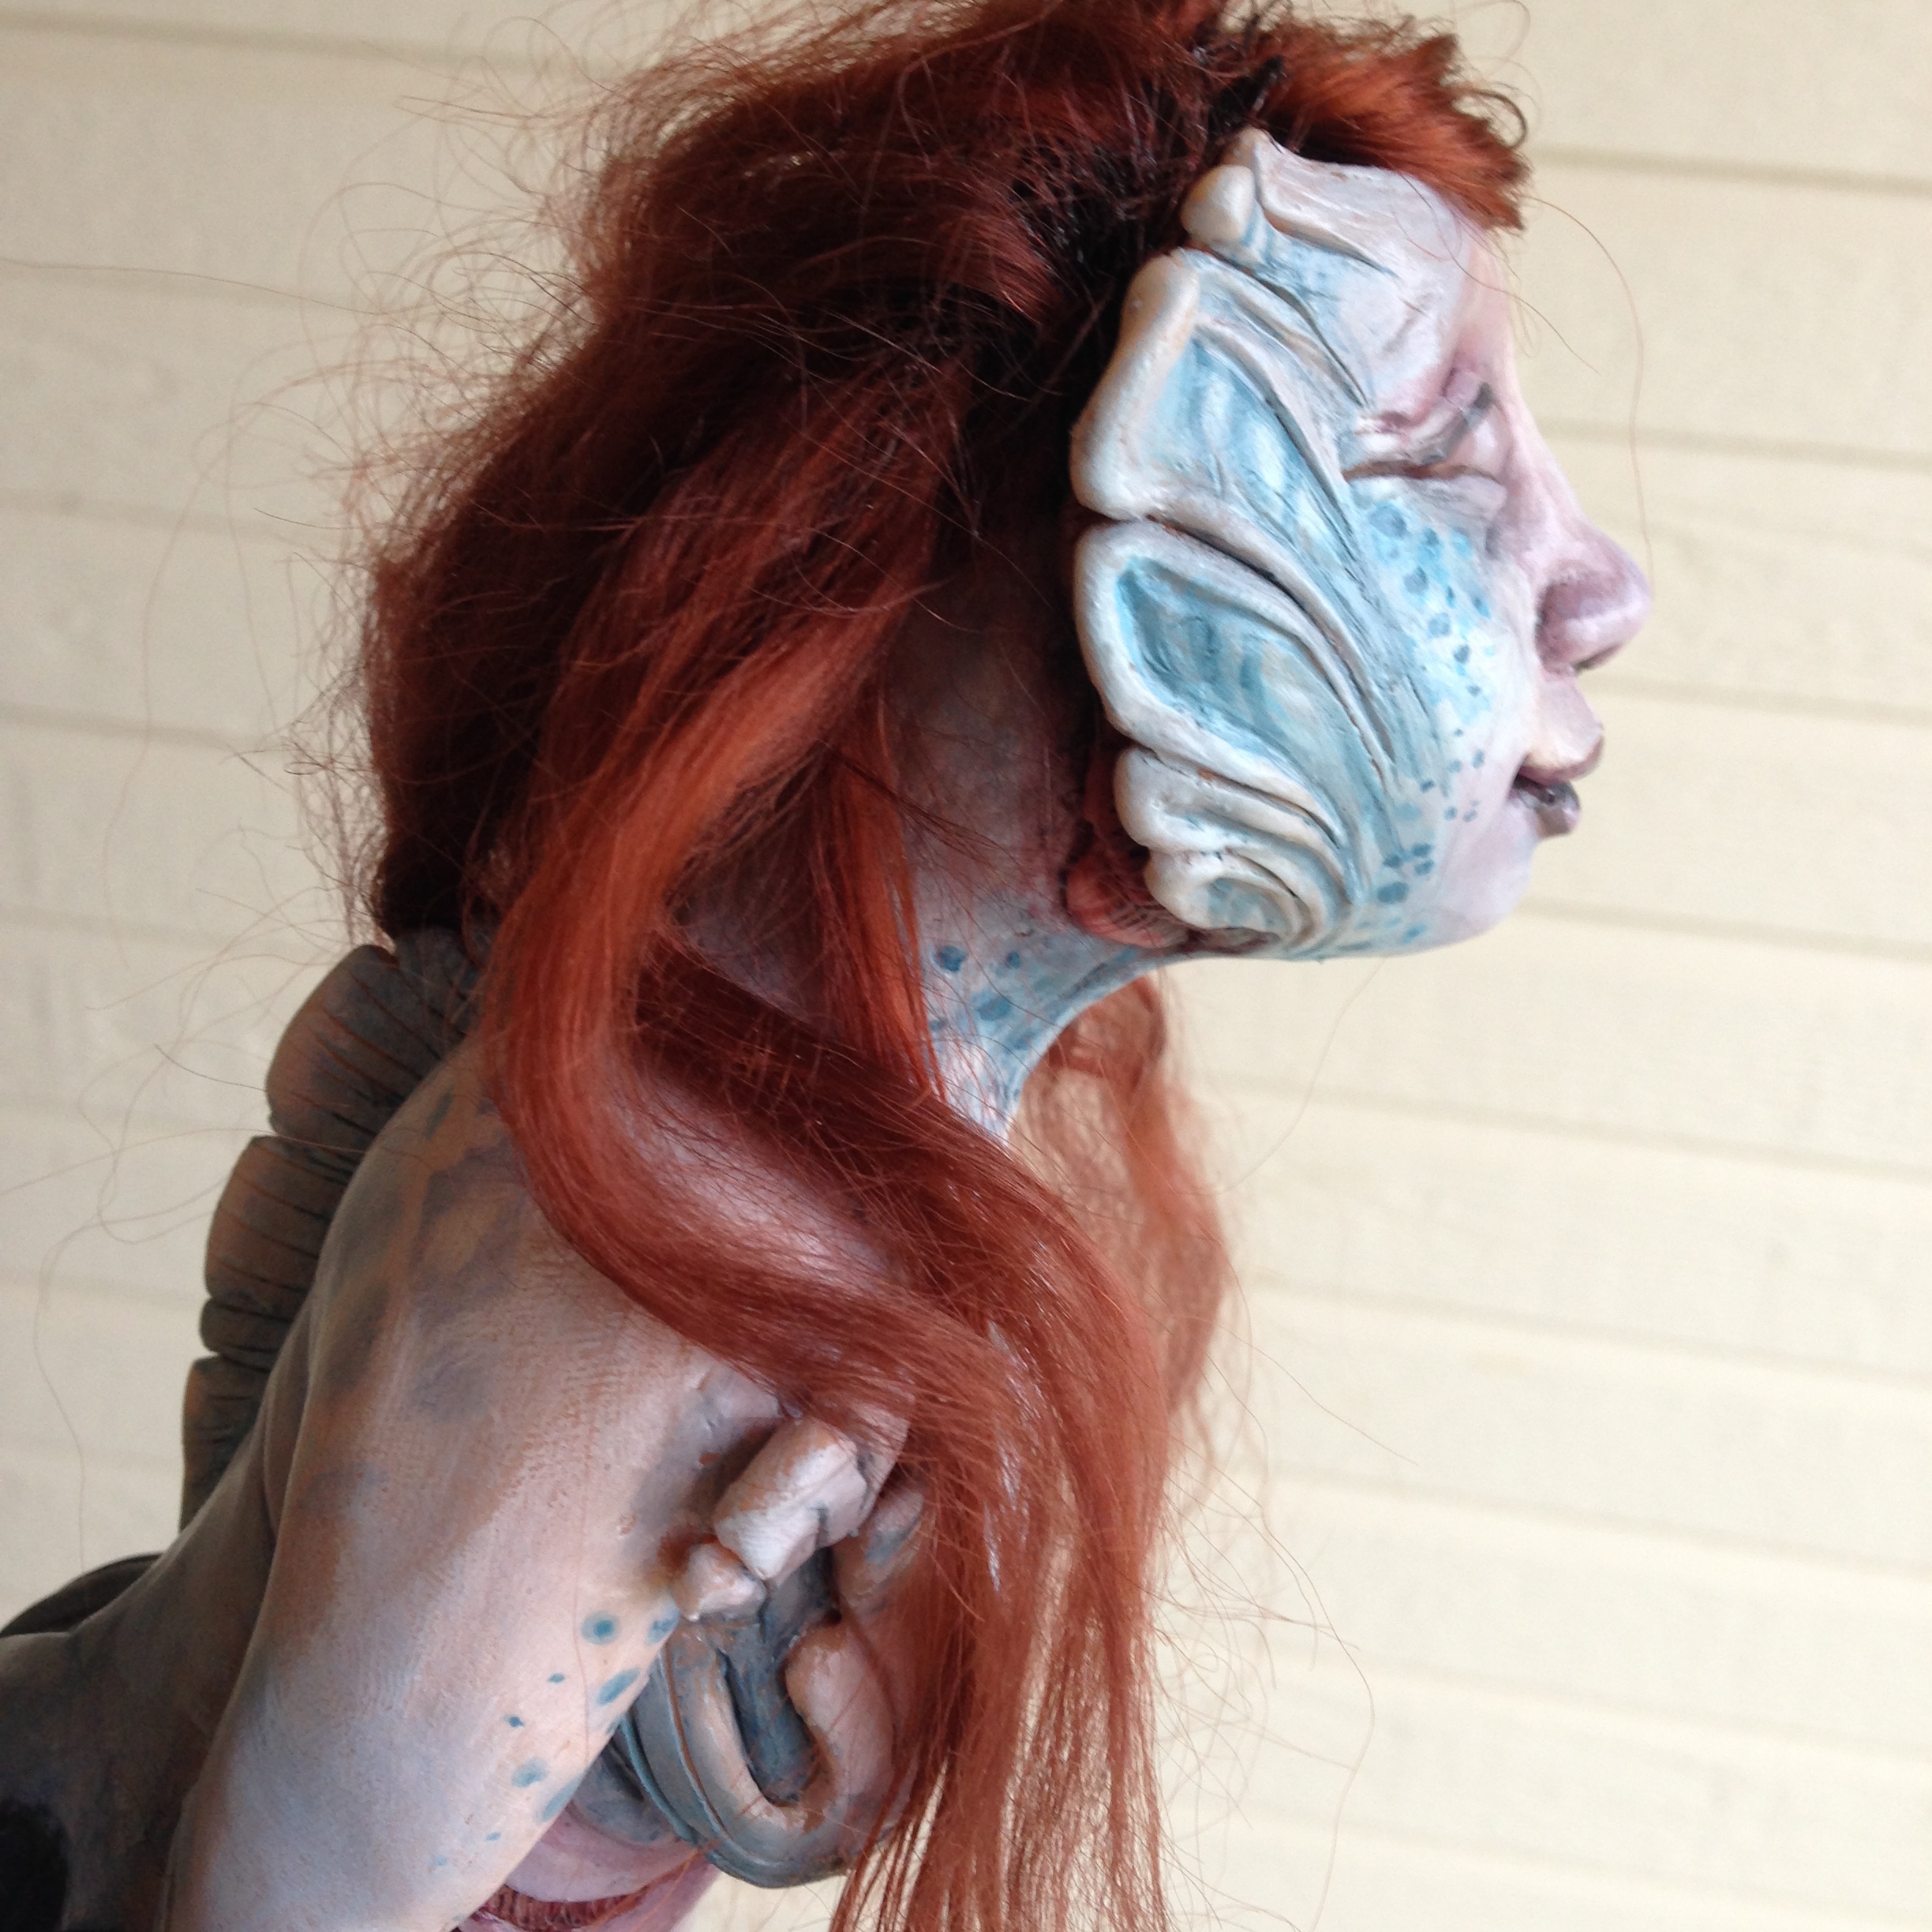
Oh yeah, and I also burned her nose with the heat gun….because it was my first time using a heat gun.
It didn’t matter all TOO much, though, since after it was cooked and cooled (I like to turn the oven on 250, put my sculpture in, and turn the oven off & forget it til it cools off), the next step was to paint her.
I didn’t want her to look too morose and gothy, but again–thinking of nature, she’d probably want to be fairly well-camouflaged, right? So I painted her in sort of blueish grayish purples.

My favorite parts were the gills: I made them sort of reddish, as I recall fish-gills being. And do you see she’s got some curve and a booty? I’m just going for a version I’ve never seen before. That curve is pretty hard to photograph. I at least gave her a little pudge under her arms, because maybe she’s buff and well-fed. And hey…we can’t ALL be as dainty as Ariel.
So at the point when I could go no further, and Her Baldness was staring at me with peaceful patience, I was saved by an order I had made online of a small batch of reddish mohair. I am not at all familiar with laying hair, but I had read a little bit about dolls and laying their hair. Still I wasn’t sure what to do.
So I faked it. I squirted black E-6000 on top of her head, and carefully laid her hair the way I wanted it, and waited for it to dry. (I have since been told that there are many MANY better ways of doing this….but I am impatient.)


So now what? What do you DO with a creature like this? I had initially wanted to mold her and cast her in resin to customize in eighty million different ways. But I’m over my experience level with 2-part detailed molds, so I just stuck with making the original as awesome as I could while I could.
So I made my own mount for her.
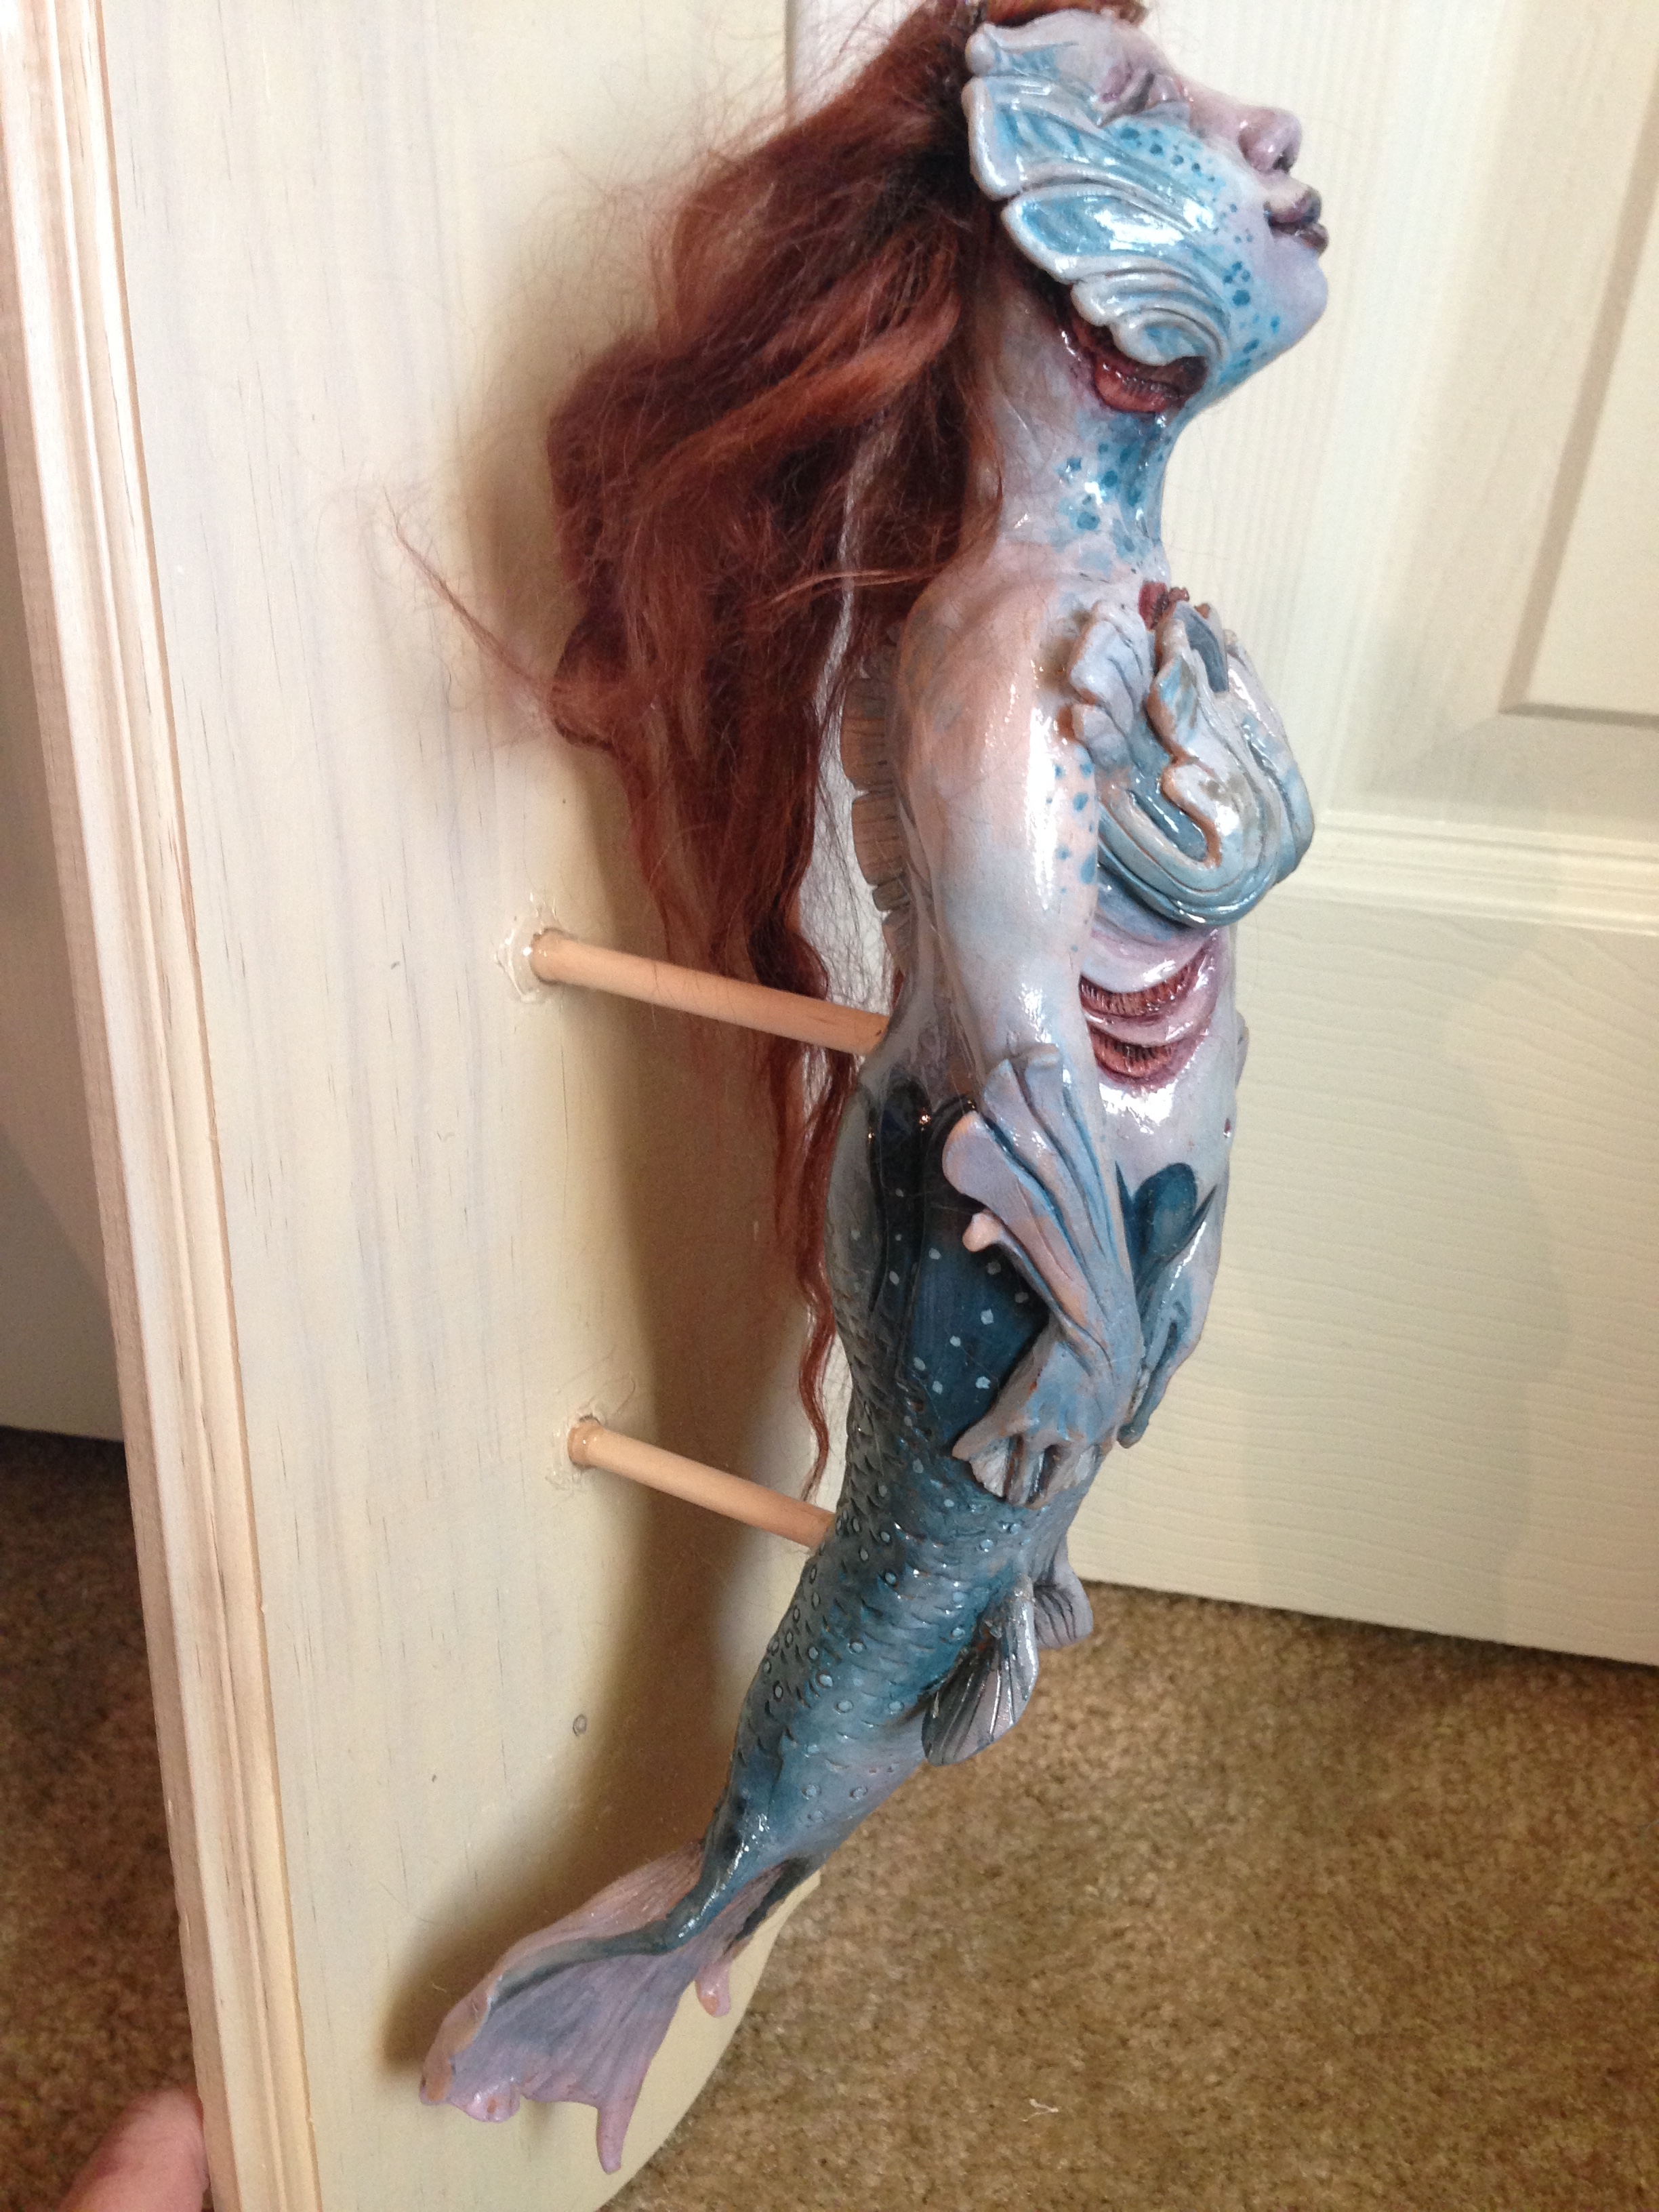

But is she hanging on my wall? No. Not yet. I’m afraid she’ll fall off those poles. I keep meaning to paint the board (which I should have done beforehand, but it’s too late now). So she sits on my shelf, flat on her back, on top of two poles. And I’m still scared she’s gonna fall, so I haven’t hung her up yet. I was careful to make sure she didn’t look like a mounted, dead fish, as I also didn’t want to freak out our 5-year old.
So there’s something unfinished. I love her, I’m just not sure yet what to DO with her. But in the meantime, I thought I’d share! Sometimes, the weird things end up pretty wonderful.
Playing with Mermaids
Inspiration comes in strange places. With the excitement of Austin Wizard Con looming, I have been playing with all kinds of ideas for the table display and the idea of little knick-knacks to show. And since I follow a ton of very talented artists on Instagram, I was inspired by them to try something completely new for me: molding and casting.
So I watched a few videos on YouTube, and now I’m an expert.
I won’t do a full DIY step by step, since I don’t really know what I’m doing and this is all new to me anyway (trust me, this is one of those situations where you have to just jump in and try it). But I’ll give a rough rundown of the basic steps, just to show you what was involved…
Step 1: Sculpt something.
I used Super Sculpey, and tried to come up with a little sculpted version of the mermaid girl Myla & I made. (I realize she looks very little like the original, but Myla said she was cute, so I think it’s okay…) Since kids have a natural magnetic attraction towards clay, I sacrificed a handful of Sculpey and let Myla make her own mermaid. (She modeled her after a character on Doc McStuffins, who is not, in fact, topless–but she couldn’t remember what her top looked like, so she just gave her breasts. I’m not sure if I should put a censored black bar over kid-sculpted breasts? I just go with it)…

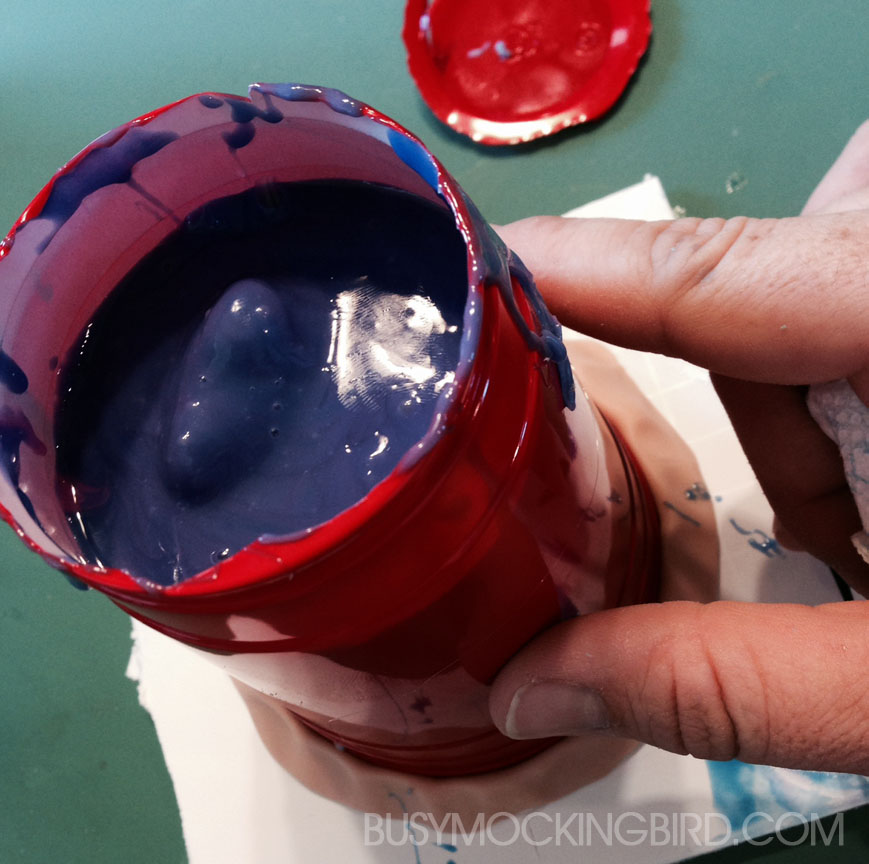
Step 2: Make a mold.
I got my kits from a company called Smooth-On (who have TONS of great videos on their site). I won’t give you every little detail on this, since the directions are really easy (and on the box)…but the basic idea is mix This with That and pour. (Plus, if I told you everything, I’d ruin all the messy fun for you.) The main thing I learned during this step: make sure you mix it REALLY well. If you don’t, it doesn’t set right. I made mine from silicone rubber in a plastic cup. I nearly didn’t mix enough for the tail, but it turned out alright.
Step 3: Cut your sculpture out
You know that bit of instructions that you think, “Ah, that’s not a big deal, I’ll just sort of wing it”? Well, turns out sometimes they tell you those little tips for a good reason. When I put my sculpture in the cup to mold it, I forgot to mark on the cup where the back side of her was. So when it was time to open her, and I “guessed,” I guessed wrong, and sort of sliced up her face. The stubby arms were apparently a little too weak for the whole process and broke off. And the body crumbled because I hadn’t fully cooked her. But the mold itself turned out fairly good. And Sculpey can be touched up a bit, so I patched her up and fully cooked her, and she was just fine.

Step 4: Pour plastic/resin into the mold.
The first go-round, I tried a liquid plastic kit from Smooth-On. And along with my repeated advice of making sure you mix everything the right way, I’ll add a couple of pointers I learned: First thing is that it’s probably a good idea to wear gloves. Initially, I gave that bit of advice a big ol’ “Pshhhht, whatever.” But plastic nearly ALWAYS gets on your hands, and it feels super creepy, like when you get superglue on your fingers. Blecch. And later, when I tried pouring resin, I had a bit of a leak in the silicone mold (it was a different mold, and I had two “air holes”), and it leaked hot resin ALLLLLLLLLLL over my work table. Trust me, that’s not fun at ALL. So my bit of advice there? make sure you don’t have a spot in the mold that might leak. And lastly, GIVE IT TIME TO CURE. I’m very impatient. But hot plastic hurts.

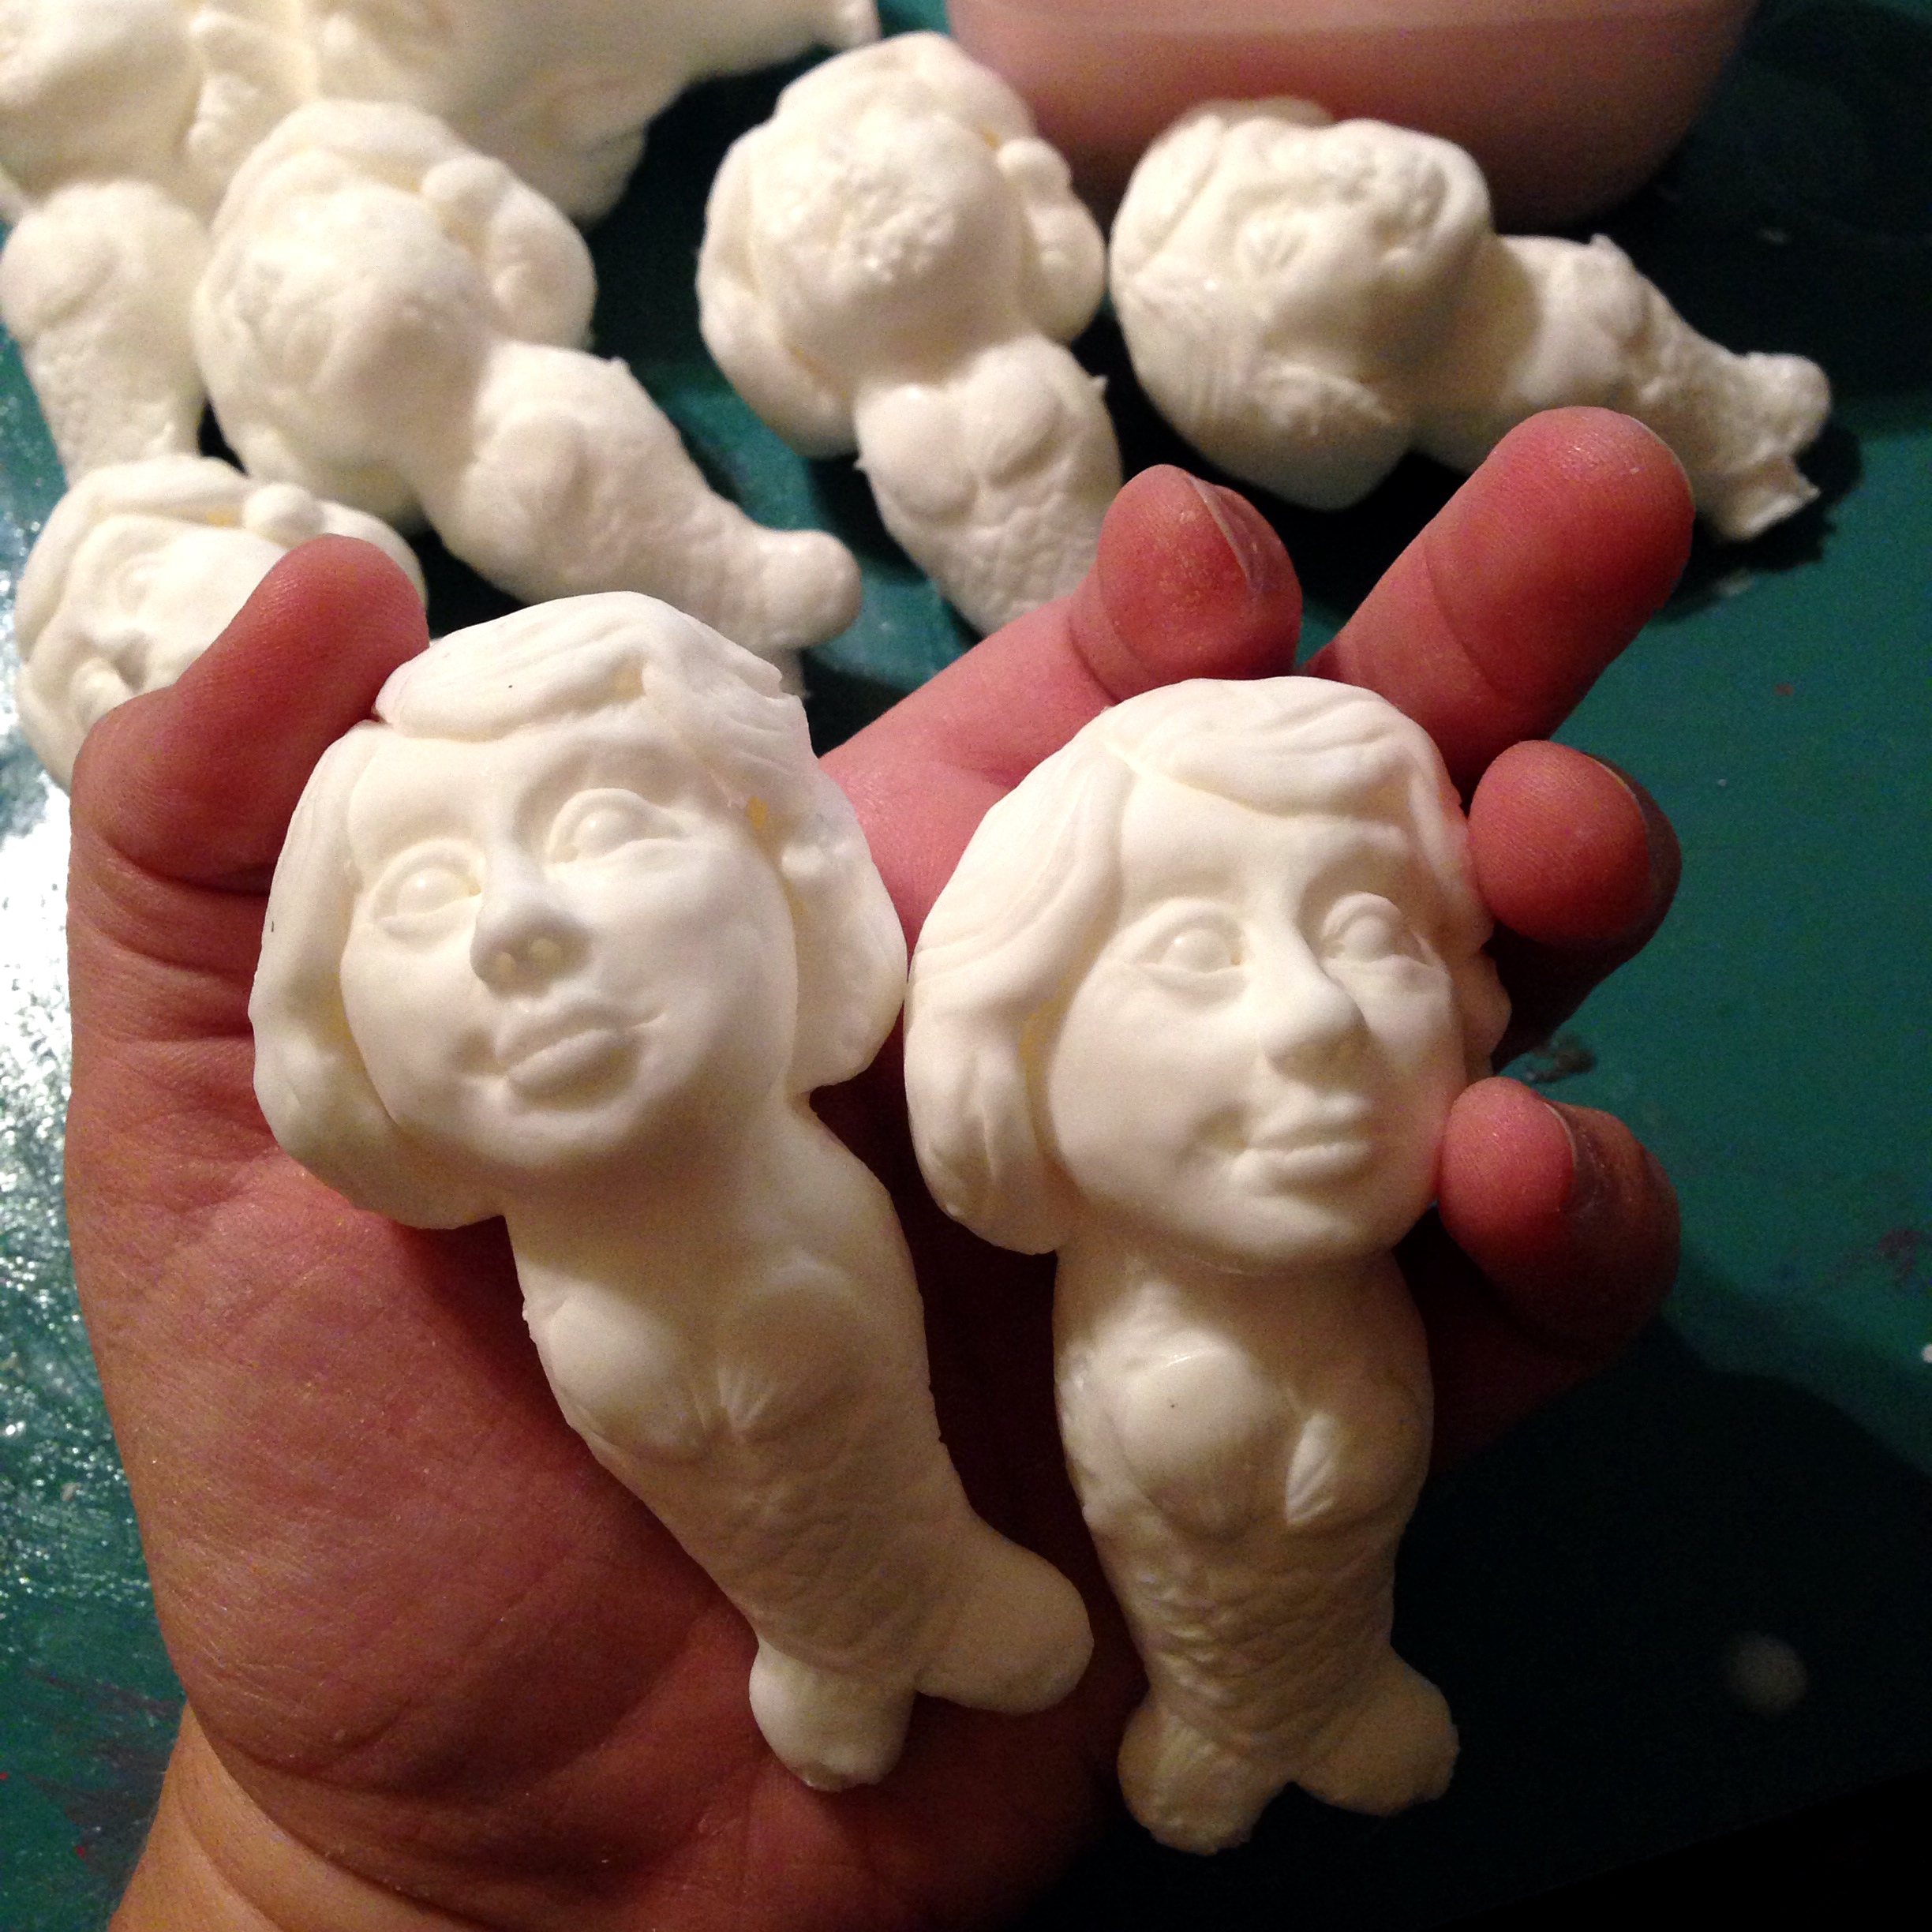
Step 5: Plastic mermaids!
So I messed up quite a few mermaids, but after some trial and error, I was able to get a few decent-looking plastic mermaids! Fun! I couldn’t figure out why their faces were bubbly, though, until I looked closely at the mold, and realized that the mold itself had bubbles set into it. Whoops. Later I made a better mold, and made it smaller and on its back, so I wouldn’t waste so much silicone rubber. That helped clear up any bubble issues, and gave me a much clearer mold. Apparently, having her on her back, and pouring the silicone in the corner and letting it sort of “seep” into the face on its own is the big trick with that. (I HAD done that the first time, but she was positioned upside down, and all the details of the face were on the bottom, leaving lots of chances for air to get trapped in there. Whoops.)
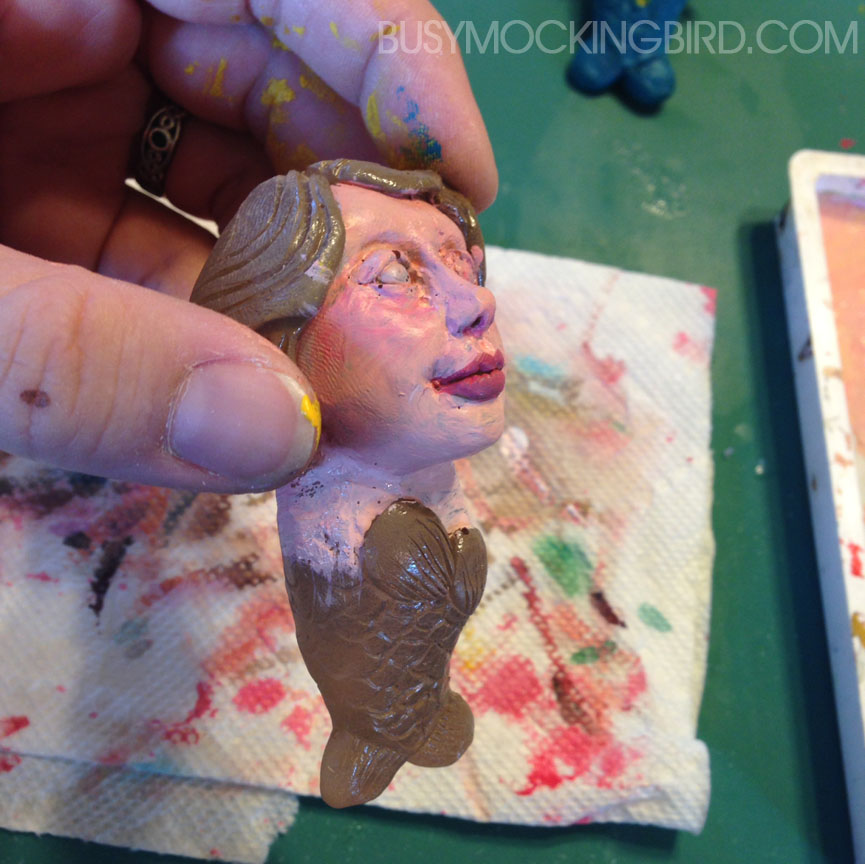
Step 6: Paint that junk
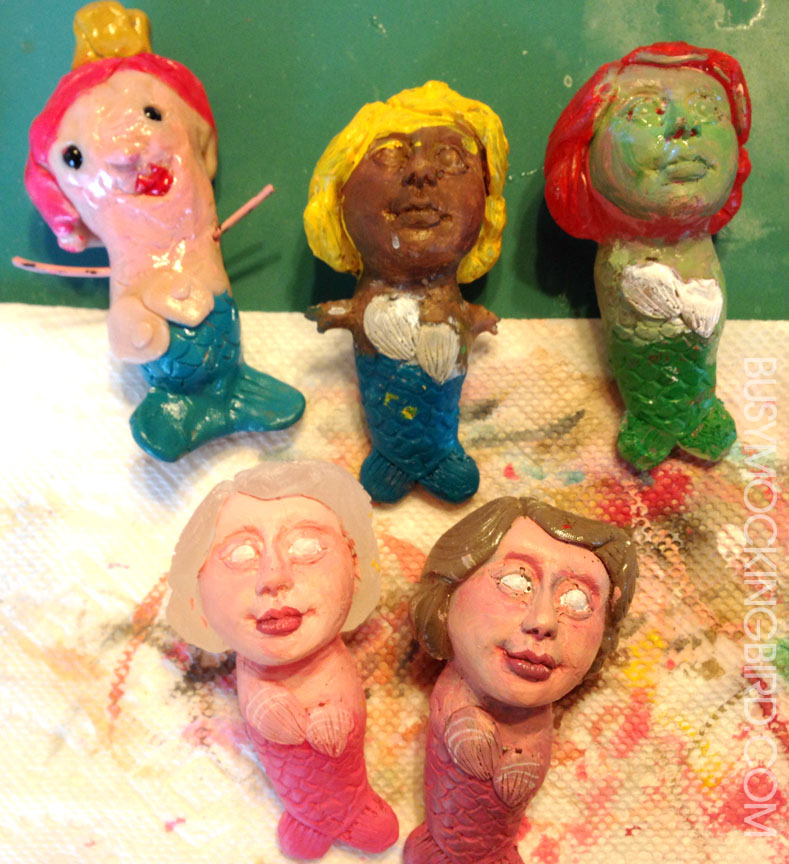
So with a handful of funky mermaids, I decided we should go ahead and paint’em up. Why not? And since they came out wonky, I let Myla have a go at them, too. 
I had a little trouble painting on the actual plastic with acrylic paint. (Myla had no complaints.) I even tried a basecoat of brown primer for plastic, but it just didn’t look so great.
 Myla had an awesome time painting them, though. She painted her McStuffins mermaid, along with a yellow-haired one (modeled after a Monster High doll), and a green-skinned Ariel.
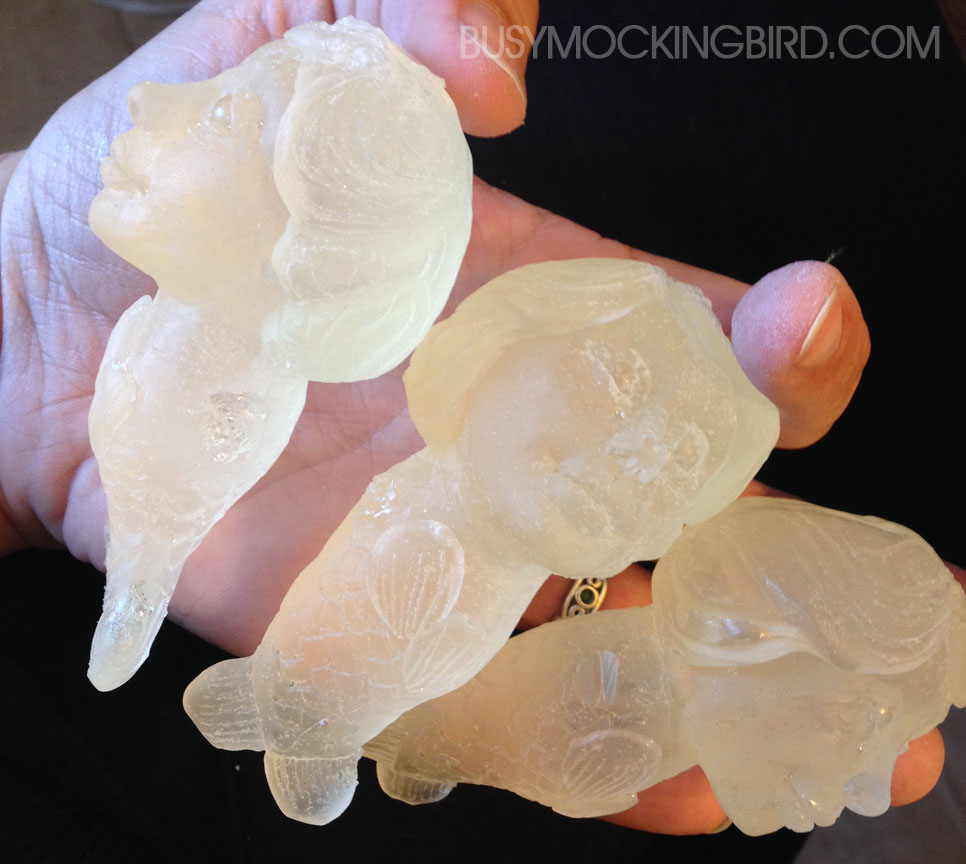
 Later, after making the bubble-free mold, I tried casting in resin, instead of the plastic…and despite MANY failed attempts (note the mutant mermaid army in the background) I finally got some good ones!
 Apparently, again–the trick is very careful mixing. In my very limited experience, I’ve learned that if your mixture is off, it can do all sorts of wonky things to your cast. I haven’t tried painting these resin casts yet (I’ll try that later), but I’ll be sure to post the outcome!
With new projects, there’s always a level of intimidation for me. That casting kit sat in my art room for about 5 months before I actually got the courage to try it. But you know–when you do, it feels awesome to have finally figured it out! Even if you end up with an school of mutated fish-women, you can’t really consider it a failure if you’ve learned something.
So jump in and try something new! I promise, it’s worth it. Wonky mermaids and all.

