Wands at the Ready!
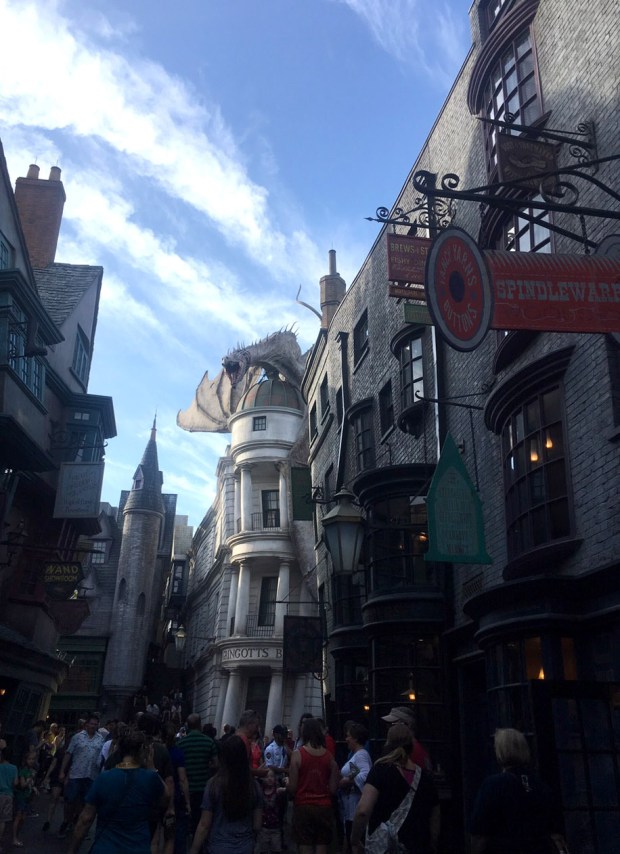
We’re in California visiting family, and we took a side detour to HARRY POTTER WORLD in Hollywood! (Yes, I realize it’s in Universal Studios and that there are OTHER things to see, but primarily, Potter World is our FAVORITE place on earth…)
Last December, we used some savings during a particularly rough time, and took a quick trip to Harry Potter World in Florida….But, as it was a rough time, we decided we needed a do-over. So our family trip to Universal Hollywood during a family trip is MUCH appreciated.
We already have wands from our last trip, but I remembered how Myla dropped hers and broke it (they were kind enough to repair it for free), so before we left, I thought it would be fun to make us some keychain wand holsters to carry our wands this time, like REAL wizards (the husband, incidentally, opted out for some reason, so the kid and I were the only mega-rad cool guys there. I know I was, with my giant sun hat to avoid sunlight at all cost).
There are some VERY cool wand holsters on etsy (yes, I said “very cool” and “wand holsters” in the same sentence, what?), but I wanted to try building my own wonky version myself.
First, I took some pleather-looking fabric I had, cut out a fairly small rectangle, and hemmed it over on three sides. Then, I wrapped it around Myla’s wand to gauge how tight it’d need to be to hold it in there firmly, and yet still make it easy to pull out. You know–should any wizard-situations arise.

Next, I took a thin strip, folded both sides to the center, and then folded it over and sewed it. This would become my keychain loop, which I slipped a keychain ring through, folded over, and stitched to the inside of the rectangle.
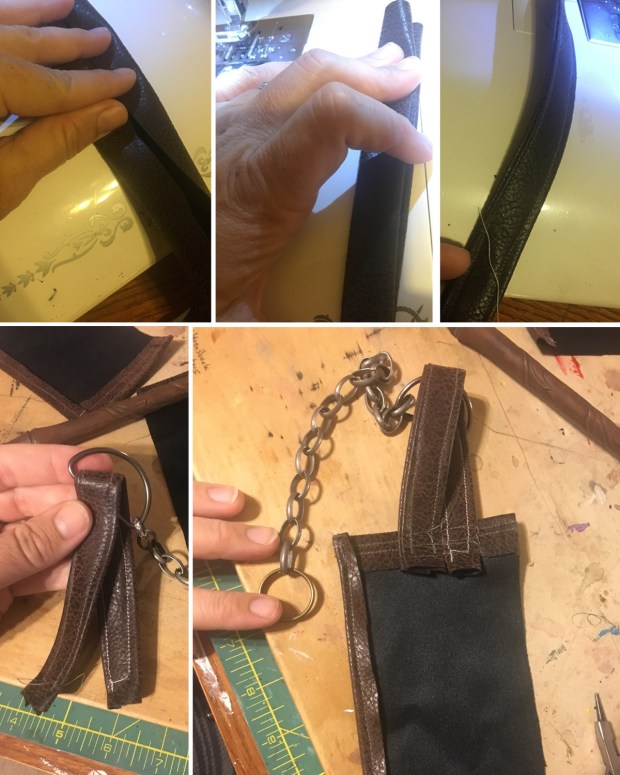
(Ultimately, I decided the d-ring wasn’t working, and the chain was too clunky and hung too low, so I removed it altogether, and replaced it with two keychain hoops, but in the photo above, I hadn’t figured that out yet…)
Once the loop was in place, I folded the rectangle over the wand again, and hand-stitched it together. (It’s quite wonky, but I am a sucker for that wonky-Weasley look, so I’ll just pretend that was the look I was going for all along…) I added a few charms I had–Myla loves Aragog, so I added a little spider and a tiny potions bottle.

I had initially thought I’d hang them from the bottom, but I didn’t want it to be too clunky and annoying.
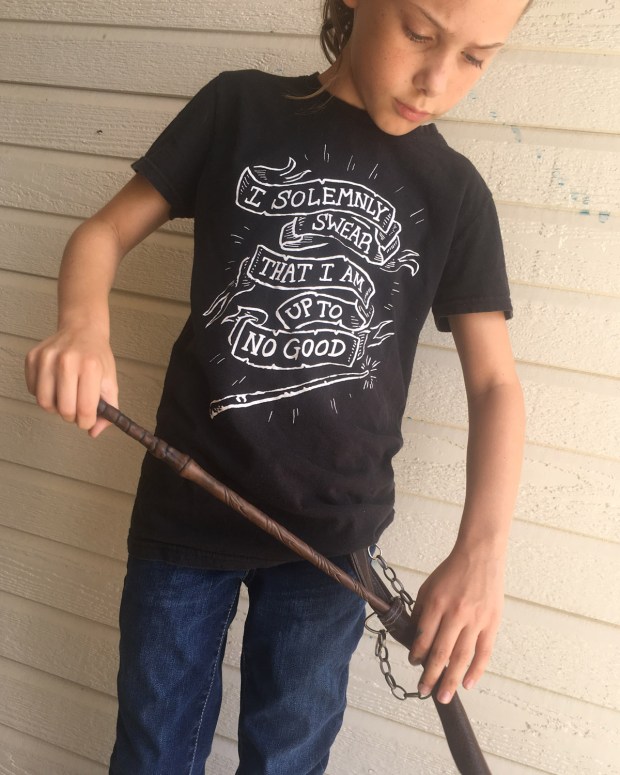
And here it is: our keychain wand-holster!

As you can see, the chain is basically useless, since it hung the wand too low, but putting a keychain hoop directly through the loop band and connecting it to her beltloop (like in the photos above) hung it at just the right level. I eventually removed the chain and attached TWO keychain hoops, just to be sure it didn’t fall off or anything.
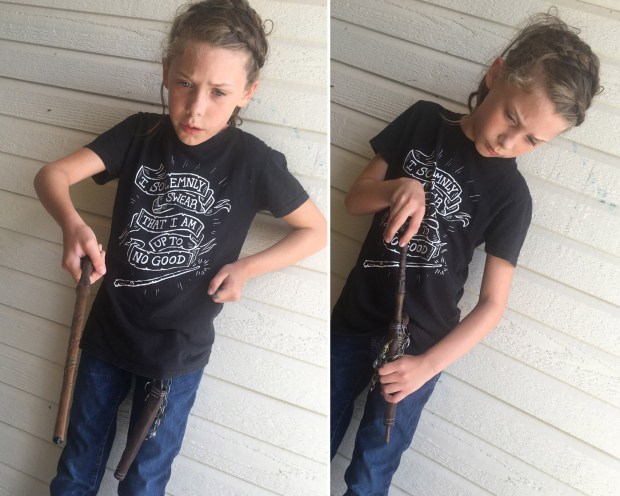
So there you go! Wands at the ready! EXPELLIARMUS!!! …Okay, now put that thing away, kid. You’ll shoot your eye out.
So here are Myla’s wand holster and mine, side by side. Mine has a couple of bug charms (because bugs are awesome), and my cicada is holding a little tiny potions bottle.

Since my wand (on the right) is basically straight, I had to curve mine a lot more, like an ice cream cone, and sew it all crooked. But I don’t mind–it held up pretty well. You can see the two keychain hoops on these without the chain, too.

And there you go! Ready for the Wizarding World of Harry Potter. 
Muggles, step aside–we’ve got some wizarding to do!

(I’d suggest wearing a belt, though–we didn’t, and the holster kept pulling Myla’s pants down…but otherwise, it worked great!)
My Monster Book of Monsters
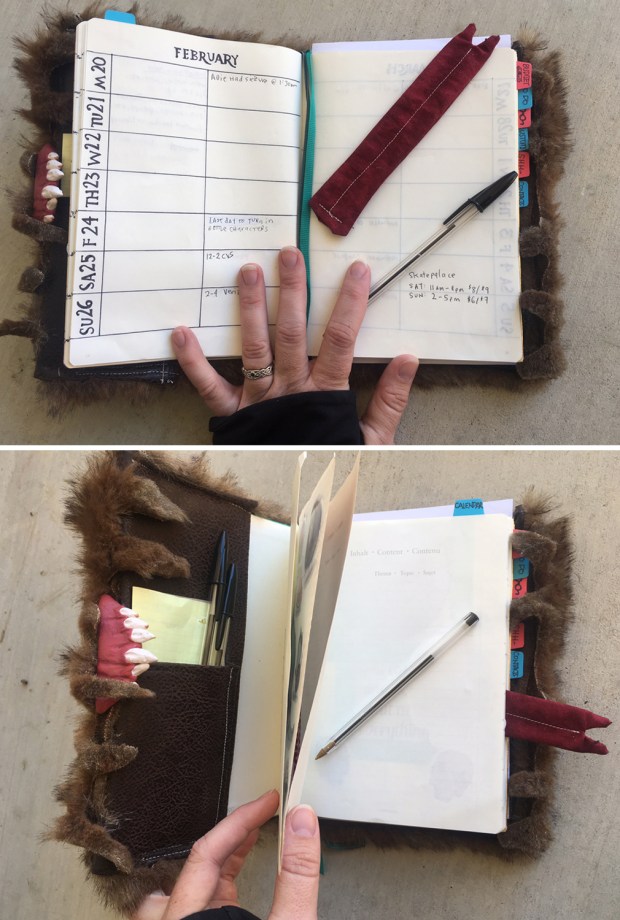
Hey did I ever tell you about the time I turned my day planner (yes, I still use a really real paper book day planner) into the Monster book of Monsters? I’ve been meaning to show it to you for a while…

I was sorting through my day planner one day and decided, “you know what? I probably really need to turn this into that.” And I did. And it didn’t take very long! Its removable, and I can replace the day planner with a small sketchbook if I want.
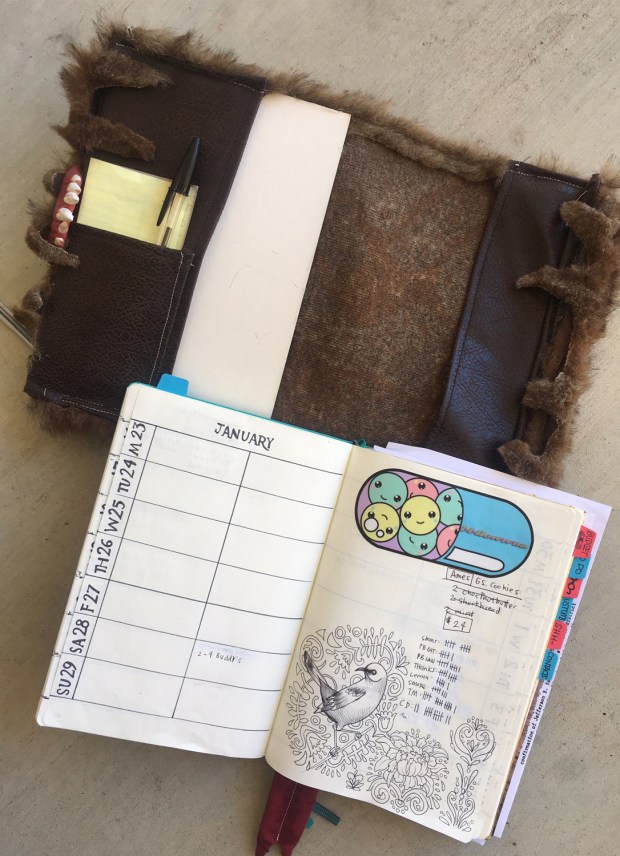
It’s incredibly wonky and terribly made, but it works, and it makes me smile. I started by laying my book open flat on the fabric, cut a big rectangle to size, and sewed the little pockets to the ends, even adding a little side pocket for pens and post-its. After the pockets were sewn on and flipped, I sewed the fringed tentacles straight to it (thankfully, the stitches are fairly well-hidden because of the fur).
And see that piece of white cardboard on the left hand inside, in the photo above? I’ll explain that in a moment…
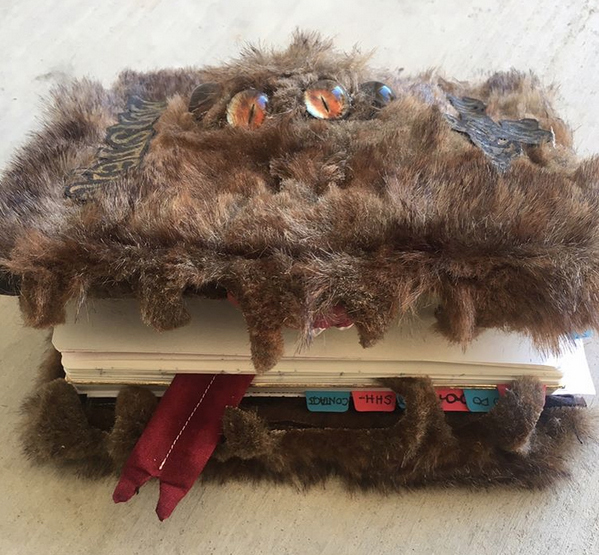
I sculpted lil teeth and gums from Sculpey, heated them up, and glued them straight on. I didn’t do a bottom set because I wanted it to still be functional, and that just wouldn’t work because I’m right-handed and those teeth would totally get in my way.
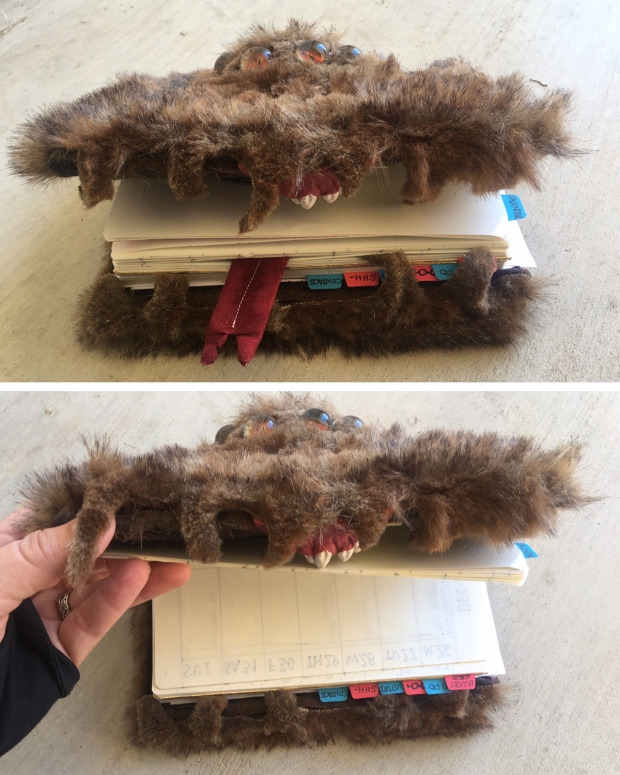
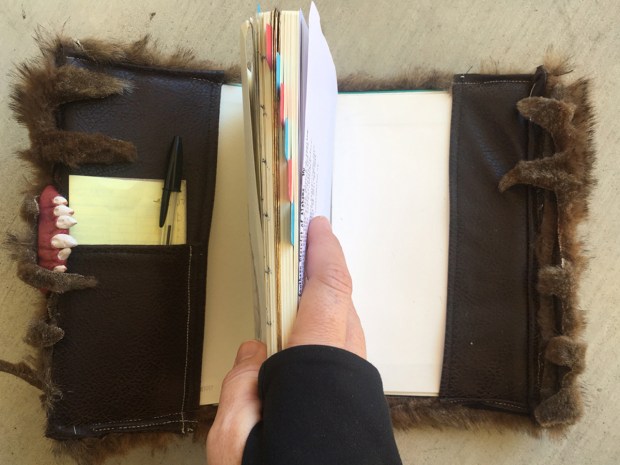
So that white piece of cardboard on the inside I mentioned earlier? That’s sort of the wonky key holding the top part of the “head” together. There are probably a dozen better ways to do this, but I just cut a curved section out of the top fur, added some stuffing, glued another piece of fabric that I attached some glass doll monster eyes to, and closed it all up on the underside with the cardboard. It’s wonky, but it works. The book slides on top of the wonky cardboard, and everything stays together (fingers crossed).
I sewed a quick little “tongue” bookmark, which holds my place on the calendar section.

And there you go! My favorite projects are not only fun, but FUNCTIONAL…so having something that I can actually use AND that makes me smile is pretty much a happy project for me, all around.
Technically, it should have the bottom teeth and a belt to close it, of course, but again–I needed it to be FUNCTIONAL, and anything that hinders the function isn’t gonna work.
Finally, I used gold paint on some pleather-like material, and cut it out around the letters, gluing it to the top. And BOOM! There’s my Monster book of Monsters day planner!
It reminded me of the homemade paper bag book covers I used to make for my textbooks ages ago (because that’s what we did a million years ago). But this was on a much fuzzier scale, of course… ❤
Dumblebroidery
Yes, that’s a word I just made up: Dumblebroidery.
I swear I’m not strictly a Harry Potter blog, so I apologize if Potter’s not your thing….but I can’t say I haven’t been reignited in my love for all things wizarding by our trip to the Wizarding World of Harry Potter mid-December, as well as by the fact that I’m rereading all of the books from scratch by listening to them on Audible, so I can “read” while I craft.
Between the beetles I love to paint, the Stuff Myla Says, the Dream Creepers, and the other random doodles I do, I sometimes like to try my hand at embroidery.
I’ve done several hand- and machine-stitched portraits on paper, but “real” embroidery has often eluded me. I have been known to lack a great deal of patience, and swear under my breath a lot when my threads get tangled. But (as I frequently do), I still had a sudden urge to embroider a Dumbledore one day last week, and immediately set to work.
Thankfully, as I have dabbled in nearly every craft imaginable, I had some embroidery tools on hand from a forgotten project long ago.
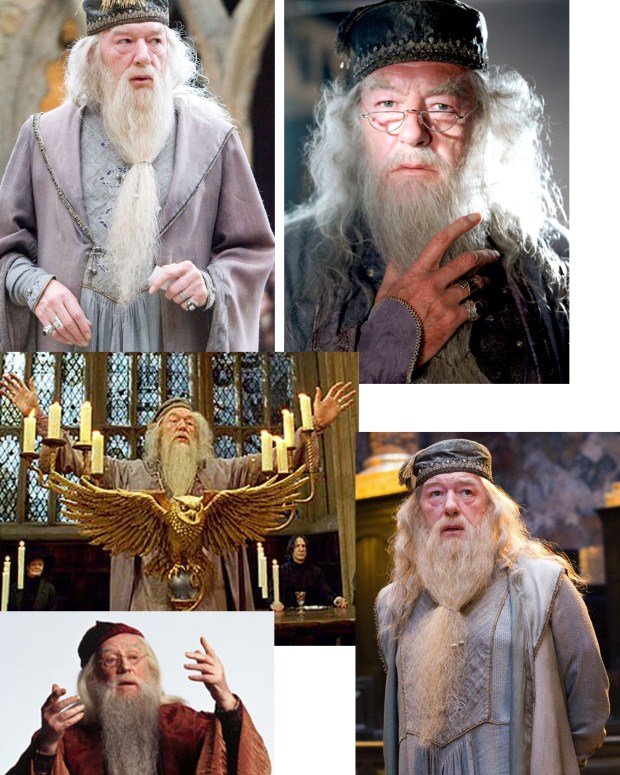
First, I gathered some photos of Dumbledore from online. Although I was working mainly from movie Dumbledore #2 (Michael Gambon), I also wanted to include a hint of Dumbledore # 1 (Richard Harris), as well as the descriptions of the professor from the books.
I started with some plain muslin I had lying around, and did a very rough sketch with pen (I hear they make disappearing ink pens for such tasks, but I didn’t have one at the time, so I just did my thang), and started stitching with the threads I had.
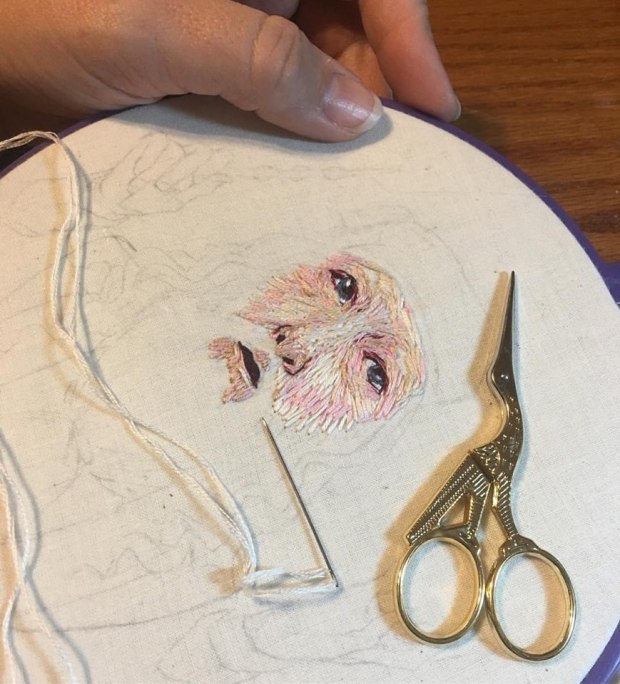
Some people have described it as “painting with thread,” which seems fairly accurate, as I went about shading it as I would a sketched portrait.
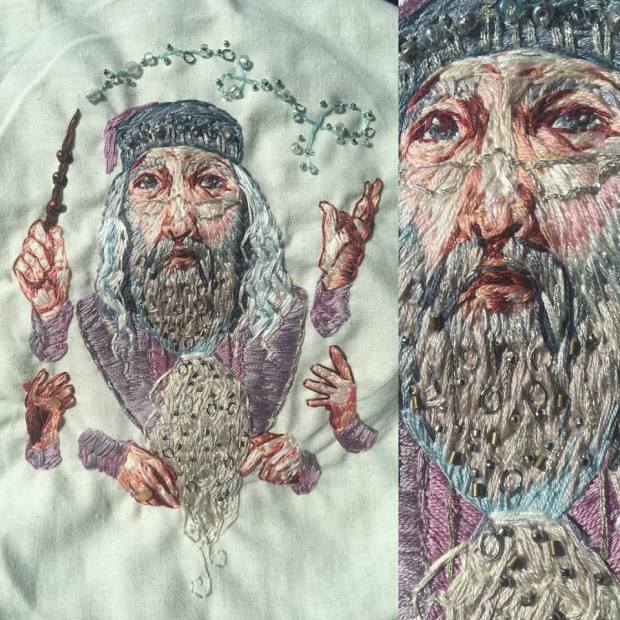
One of my favorite things is to embellish with beads and metal jumpers, so I had a lot of fun adding those details to his beard as soon as I possibly could.
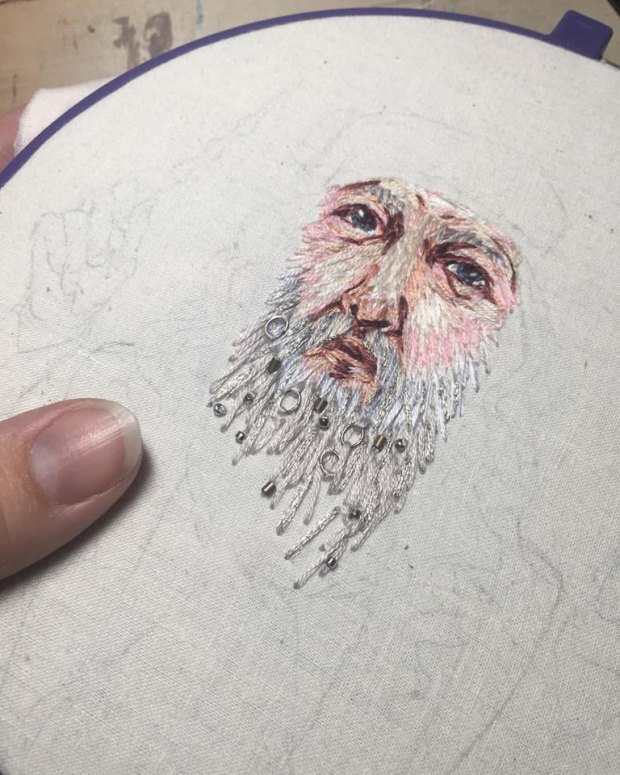
It soon became apparent that I didn’t have enough variations of colored thread to contour his face, so after a quick trip to the craft store, I was able to get a wider variety for shading and highlights.
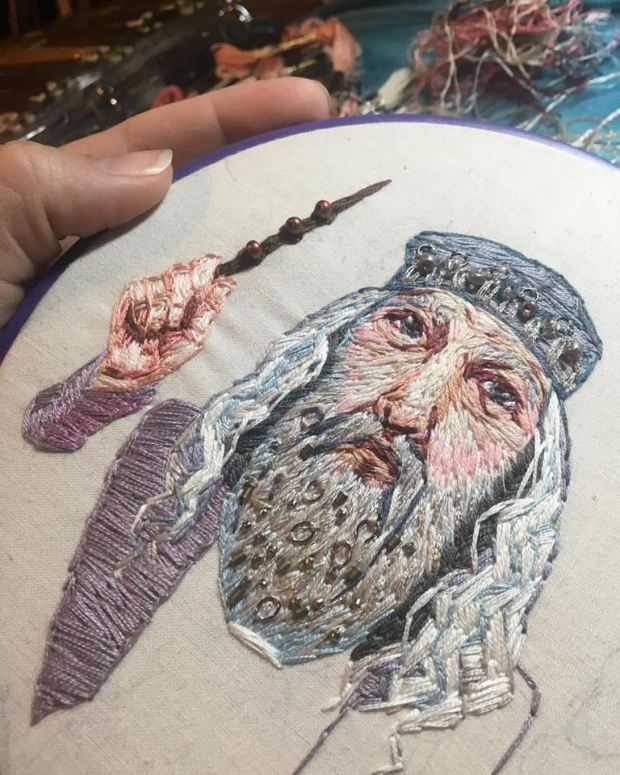
I wasn’t going for realism, but a more illustrated approach. I wanted him to have lots of hands, one of them holding the Elder Wand, with some beads to accentuate the gnarled wood bumps in his wand.
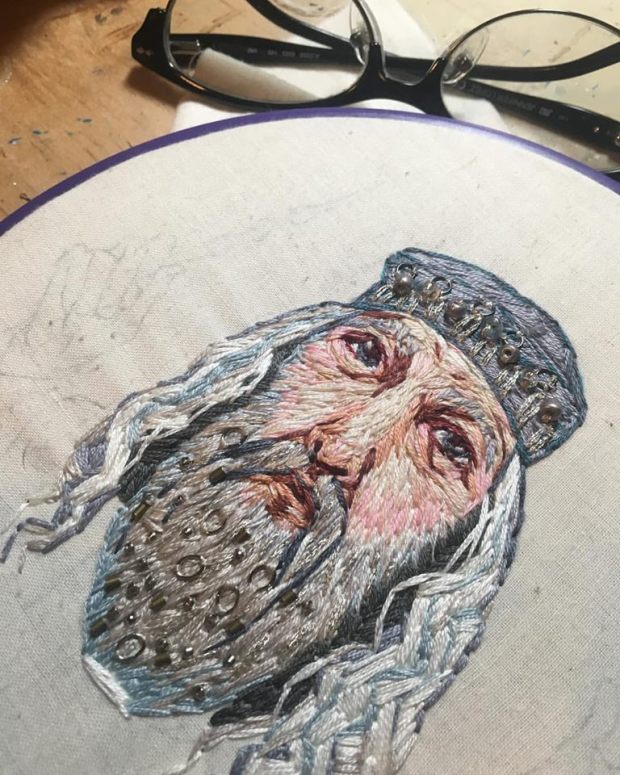
I’m no pro with embroidery by any means, but whenever I start working with a new medium, I like to research it a little. People tell me this is called “crewel” thread? Just the simple thread from any old embroidery store (are their fancier threads? I’m sure there must be, and now I’m curious…), and each is made up of 6 threads, so I split them in half by hand (another process which causes some occasional swearing), and used 3 thread strands at a time.
A good tool to have on hand has been a laminated embroidery card with directions for a few basic fun stitches, which I found in the embroidery section of WalMart ages ago. So aside from a few basic stitches, I tried to pay attention to the direction of the thread to accentuate whatever part I was working on (like trying to keep the lines in his collar going in one direction to avoid attracting attention from elsewhere).
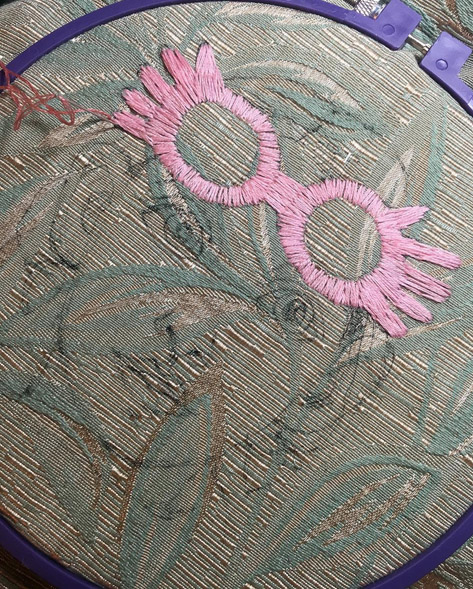
People reminded me about his half-moon glasses, which are mentioned in the book SEVERAL times when describing him (although Albus #2 rarely seemed to wear them in the movie). So I got a little metallic thread, and added his spectacles.
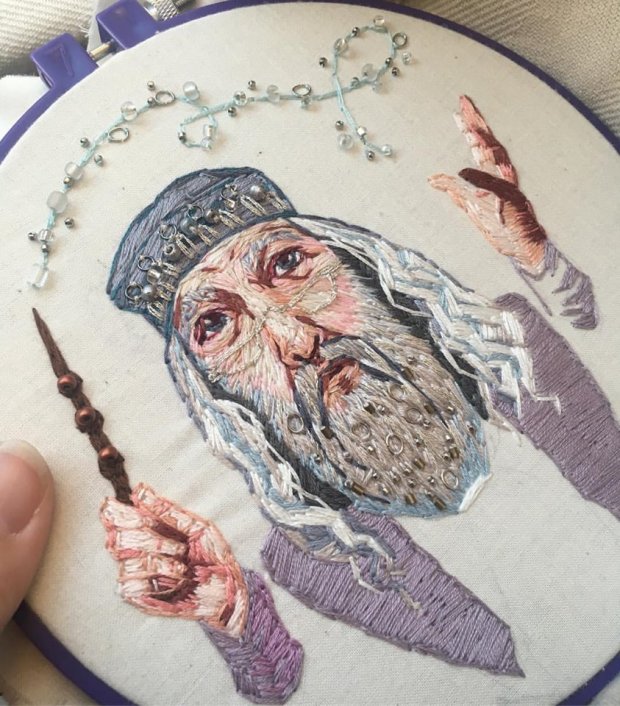
The “magic” above was a simple chain stitch, with a few clear and metal beads sewn in. Next was finishing his beard, and working on the second set of hands…
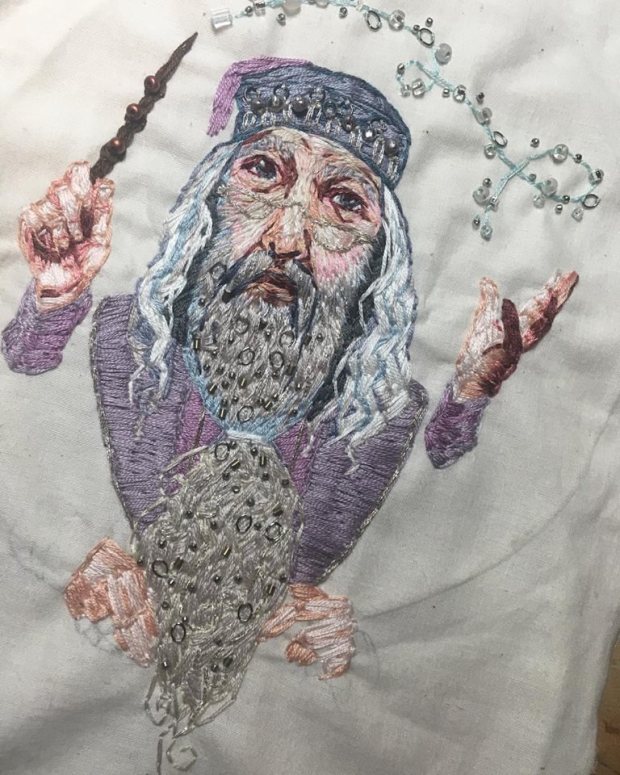
And finally, the finished Dumbledore! I’m still not sure I like the hands floating randomly like that (I may paint a background, or add some more “magic” lines around them). I think it’d work really well in a drawing, but in an embroidery piece, it doesn’t translate as well…
I wasn’t quite sure what to do with him next, though, and I got several great suggestions online, such as making a pillow, displaying him in an embroidery hoop, and turning him into a patch. But then someone suggested an embellished frame, and another posted a link to this:
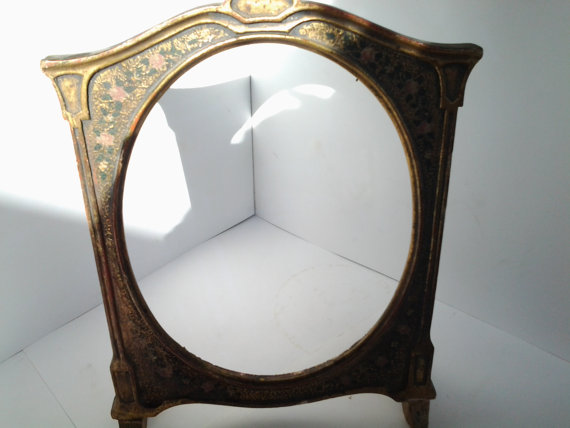
…which I promptly picked up on Etsy for around $20 and it’s sized just perfectly for him. Woohoo! Another reader–a former framer–suggested pinning the piece to foam core before mounting it, and another suggested sculpting additions to the frame, BOTH of which I’m going to try, and you can be sure I’ll post it when I do!
For now, since Dumbledore’s done, I’ve started my next one: Luna Lovegood, which I plan on placing by our entryway, along with the phrase, “Weirdos Welcome.” I have a Snape in the works (in my mind), and even a Newt Scamander (from Fantastic Beasts and Where to Find Them) with his case. Maybe I’ll get to them all before running out of steam. For now, I’ll keep doing them for as long as they’re fun. I can’t wait!