Fun Little Nature Project
It’s been a busy week, trying to keep up with the world…sometimes it’s nice to just step away and do an easy, fun little thing with the kid.
My mother’s day weekend was spent with a large group of giggling Girl Scouts, on a Mother-Daughter Campout in the woods. (Please please, calm your envy…)
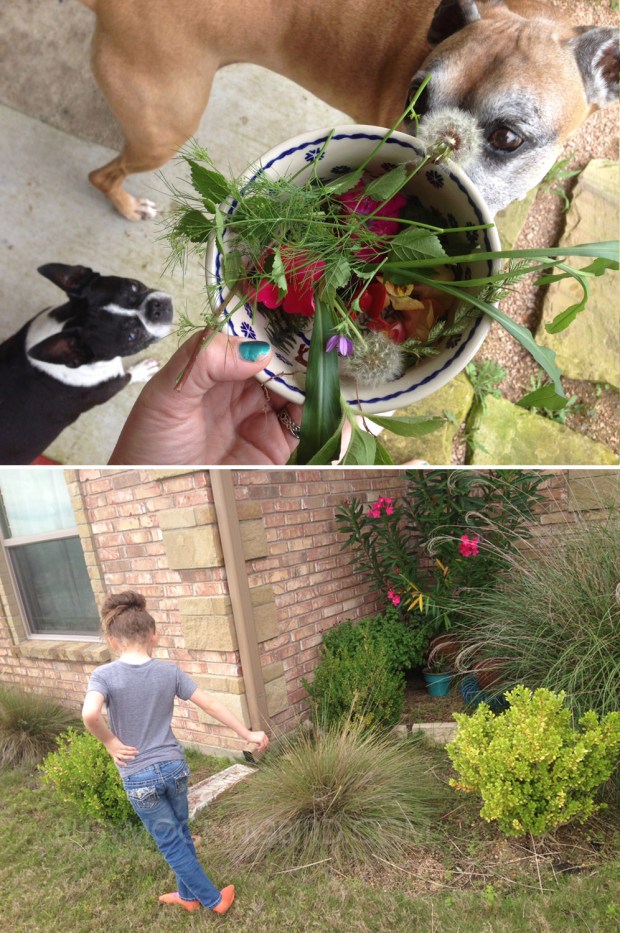
Even with the archery, horseback riding, and nature walks we did, if you asked Myla what her favorite part was, she’d tell you it was the nature project. She’s been asking me to do it again, and since our Texas days have cooled down for a couple of days, we were able to just go into our yard and have some fun. So I thought I’d share what we worked on, in case you’d like to give it a go yourself!

First step is to Pick some plants. You want to find things that have a variety of shapes and sizes and colors, but you want to make sure they’re fairly flat. You don’t need to go far; if you’ve got houseplants nearby, or have access to grass (unlike some Ohioans I’ve heard, who are currently covered in snow) and plants in your own yard, all you have to do is gather them up.
Next, you’ll need contact paper. I’m sure it’s cheaper sold in rolls, but I only happened to have self-laminating sheets on hand, which are admittedly a bit pricier. But they got more action with this project than they’ve seen in a while, so I didn’t mind.
With your gathered plants nearby, unpeel half of the sheet with the sticky side up, so you can start placing your plants where you want them, into whatever design you choose.

Since Myla’s more into building animals and creatures and things with faces, she went straight for making something adorably weird, even adding little bits of paper for the eyes, while I made a simple little mouse. Fun little tip: clover petals look like hearts. 🙂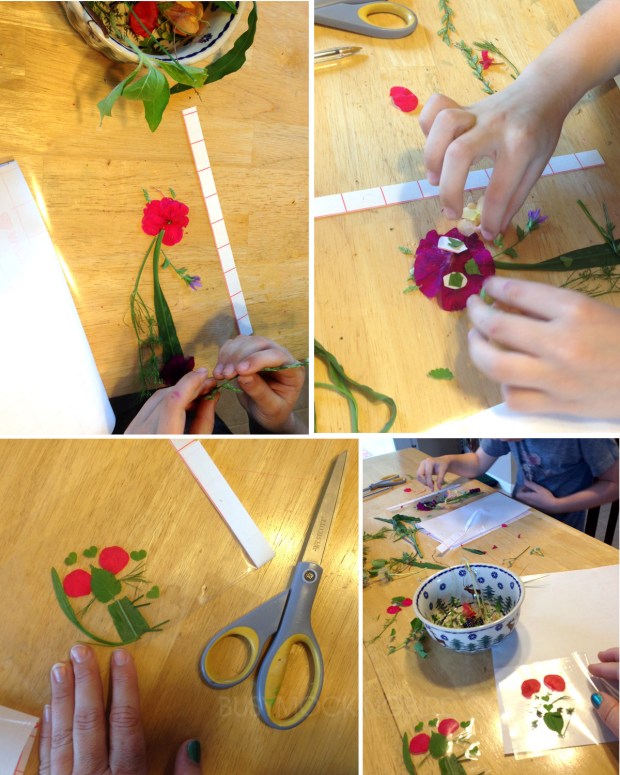
Or you can go decorative, like my wonky little tree-shape below.

Myla moved on to making a rabbit from various plants, being very careful in properly laying them out how she wanted. With have the page exposed, when you feel finished, just unfold the other half and fold it over your piece to seal it up.

Once you’ve folded it over and sealed it up, cut around your piece, being sure to leave quite a lot of space around. Sometimes, it even helps to seal it twice, making sure all the edges or sealed, or air will get in, and your little creations will discolor and “turn rotten,” as Myla says.
And there you have it! Just a fun and easy little idea to make into bookmarks or punch holes to make a mobile to hang in a window. And a calm little happy project that nearly anyone of any age can do. So get out and spend some time in the sunshine (if you have it) and make some lovely little things with someone you love!


